You record a useful moment with your glasses: a quick desk fix, a cooking technique or a product demonstration that needs both hands. The recording captures your perspective, but someone watching it later still needs to understand what matters.
Where should the video start? Which movements can you cut? And where can captions sit without covering the thing you are showing?
On September 23, 2026, Meta announced Ray-Ban Meta Gen 3 with a 12-megapixel camera and 3K UltraHD video. The announcement gives creators a timely reason to think about what happens after a hands-free recording. Source: Meta’s announcement.
Ray-Ban Meta video editing starts with a clear idea of what the viewer should learn. A sharp image helps, but the finished video also needs context, readable captions and a crop that preserves the action.
This guide explains how to import your footage, choose a useful moment and use Reap to prepare a narrated POV video for Instagram Reels or YouTube Shorts.
Quick Answer: How Do You Edit Ray-Ban Meta Videos?
Import your recording through the Meta AI app and save it to your phone. Then upload the saved file to Reap, trim around one complete idea, review the transcript, adjust captions and framing, and check the finished export before posting.
For a hands-on demonstration, keep the problem, the action and the result visible. A shorter edit only works when viewers can still follow what happened.
This workflow uses a saved video file. It does not require a direct connection between Reap and your glasses. The import steps below follow Ray-Ban’s guidance, while the editing steps use Reap’s documented editor controls.
What the New Ray-Ban Meta Announcement Means for Creators
Meta’s September announcement includes several products. Ray-Ban Meta Gen 3 is the camera-equipped model relevant to this guide. Ray-Ban Meta Audio is a separate audio-focused product, so check which model you have before following a camera workflow. Source: Meta’s product overview.
The creative opportunity is straightforward: you can show a task from the perspective of the person doing it. That can be useful when holding a phone would interrupt the demonstration.
A maker can show how two parts fit together. A cook can show the texture they are looking for. A creator can demonstrate a small change to a desk setup while explaining why it matters.
The editing challenge is that your attention moves while you work. Looking toward a tool can move the camera away from the object. Looking up to speak can interrupt a close demonstration. Footage that felt clear while recording may need a tighter explanation afterward.
Review what the camera actually captured. Build the edit around the visible evidence, and use the recording settings and capabilities of your particular model as the starting point.
Import Your Recording and Choose the Useful Moment
Get the original recording onto your phone before making editing decisions. Keeping that source file gives you a reference if a later trim or crop removes something important.
Save the video from the Meta AI app
Ray-Ban’s FAQ describes this transfer process:
- Connect your glasses to the paired phone through the Meta AI app.
- Tap the circular download button on the app’s home screen to import pending captures.
- Follow the connection prompts. During import, the app temporarily connects to the glasses’ internal Wi-Fi; on iOS, accept the join-network prompt when it appears.
- Select the imported video, open the sharing options and save it to your phone’s camera roll or gallery.
Source: Ray-Ban’s official smart-glasses FAQ.
Watch once before you start cutting
On the first viewing, identify what the recording can teach. Write a single sentence describing the useful result.
For example: “This video shows how leaving enough cable slack prevents a monitor cable from pulling loose when the screen moves.”
That sentence gives you a reason to keep the initial problem, the adjustment and the final movement test. It also gives you a reason to remove a long search for a cable clip or an unrelated comment about the desk.
Listen for the sentence that explains the problem most clearly. Then check whether the corresponding action is visible. A good spoken explanation cannot carry a demonstration if the camera is pointed somewhere else.
Choose a complete moment
Avoid opening with a reference such as “this is why it happens” when the viewer has not seen the problem. Start slightly earlier or add a short, accurate context label.
Give the result enough time to register. If you demonstrate a fix, show the object working after the change. Cutting immediately after your hand moves can leave the audience unsure whether anything improved.
How to Edit a Narrated POV Video With Reap
For a single recording you have already chosen, start with Reap’s direct video-editing workflow. The following steps focus on a narrated demonstration, where the speech and visible action need to stay connected.
Upload the saved recording
Open Reap’s AI Editor workflow and upload the file. The documented upload options include MP4, MOV, WebM and MKV, with files from 3 seconds to 10 minutes and up to 2 GB. These limits apply to this direct editing workflow. Select the spoken language and available export resolution, then submit the video for processing. Source: Reap’s video-editing guide.
Check the file against those requirements before uploading. If you prepared the source elsewhere, use a version that still contains the full demonstration rather than a heavily cropped or repeatedly compressed copy.
Set the opening and ending
Use the editor’s trim and segment controls to establish the boundaries of the clip. Reap also provides transcript-based editing controls, including setting a start or end and cutting selected material. Source: Reap’s editor documentation.
For the opening, keep the first moment that makes the problem understandable. A spoken hook works best when viewers can see what you mean.
For the ending, keep the evidence that completes the promise. In the desk example, that means showing the monitor move after the cable has been adjusted.
Read the edited sentences aloud and watch the pictures together. Removing a hesitation can accidentally remove the movement that explains the next sentence. Restore that moment or choose a different cut if the demonstration becomes difficult to follow.
Correct the transcript
Review the generated words while listening to the recording. In Reap, select an incorrect word and use the correction control to update it. Source: Reap’s caption-correction guide.
Pay particular attention to words that change the instruction: a product name, a connector type, a number or a phrase such as “do not tighten.” A small transcription mistake can reverse the meaning of practical advice.
Keep captions faithful to the speech. If you want to summarize the lesson, use a separate title or text overlay rather than rewriting a subtitle into something the speaker never said.
Adjust the frame around the task
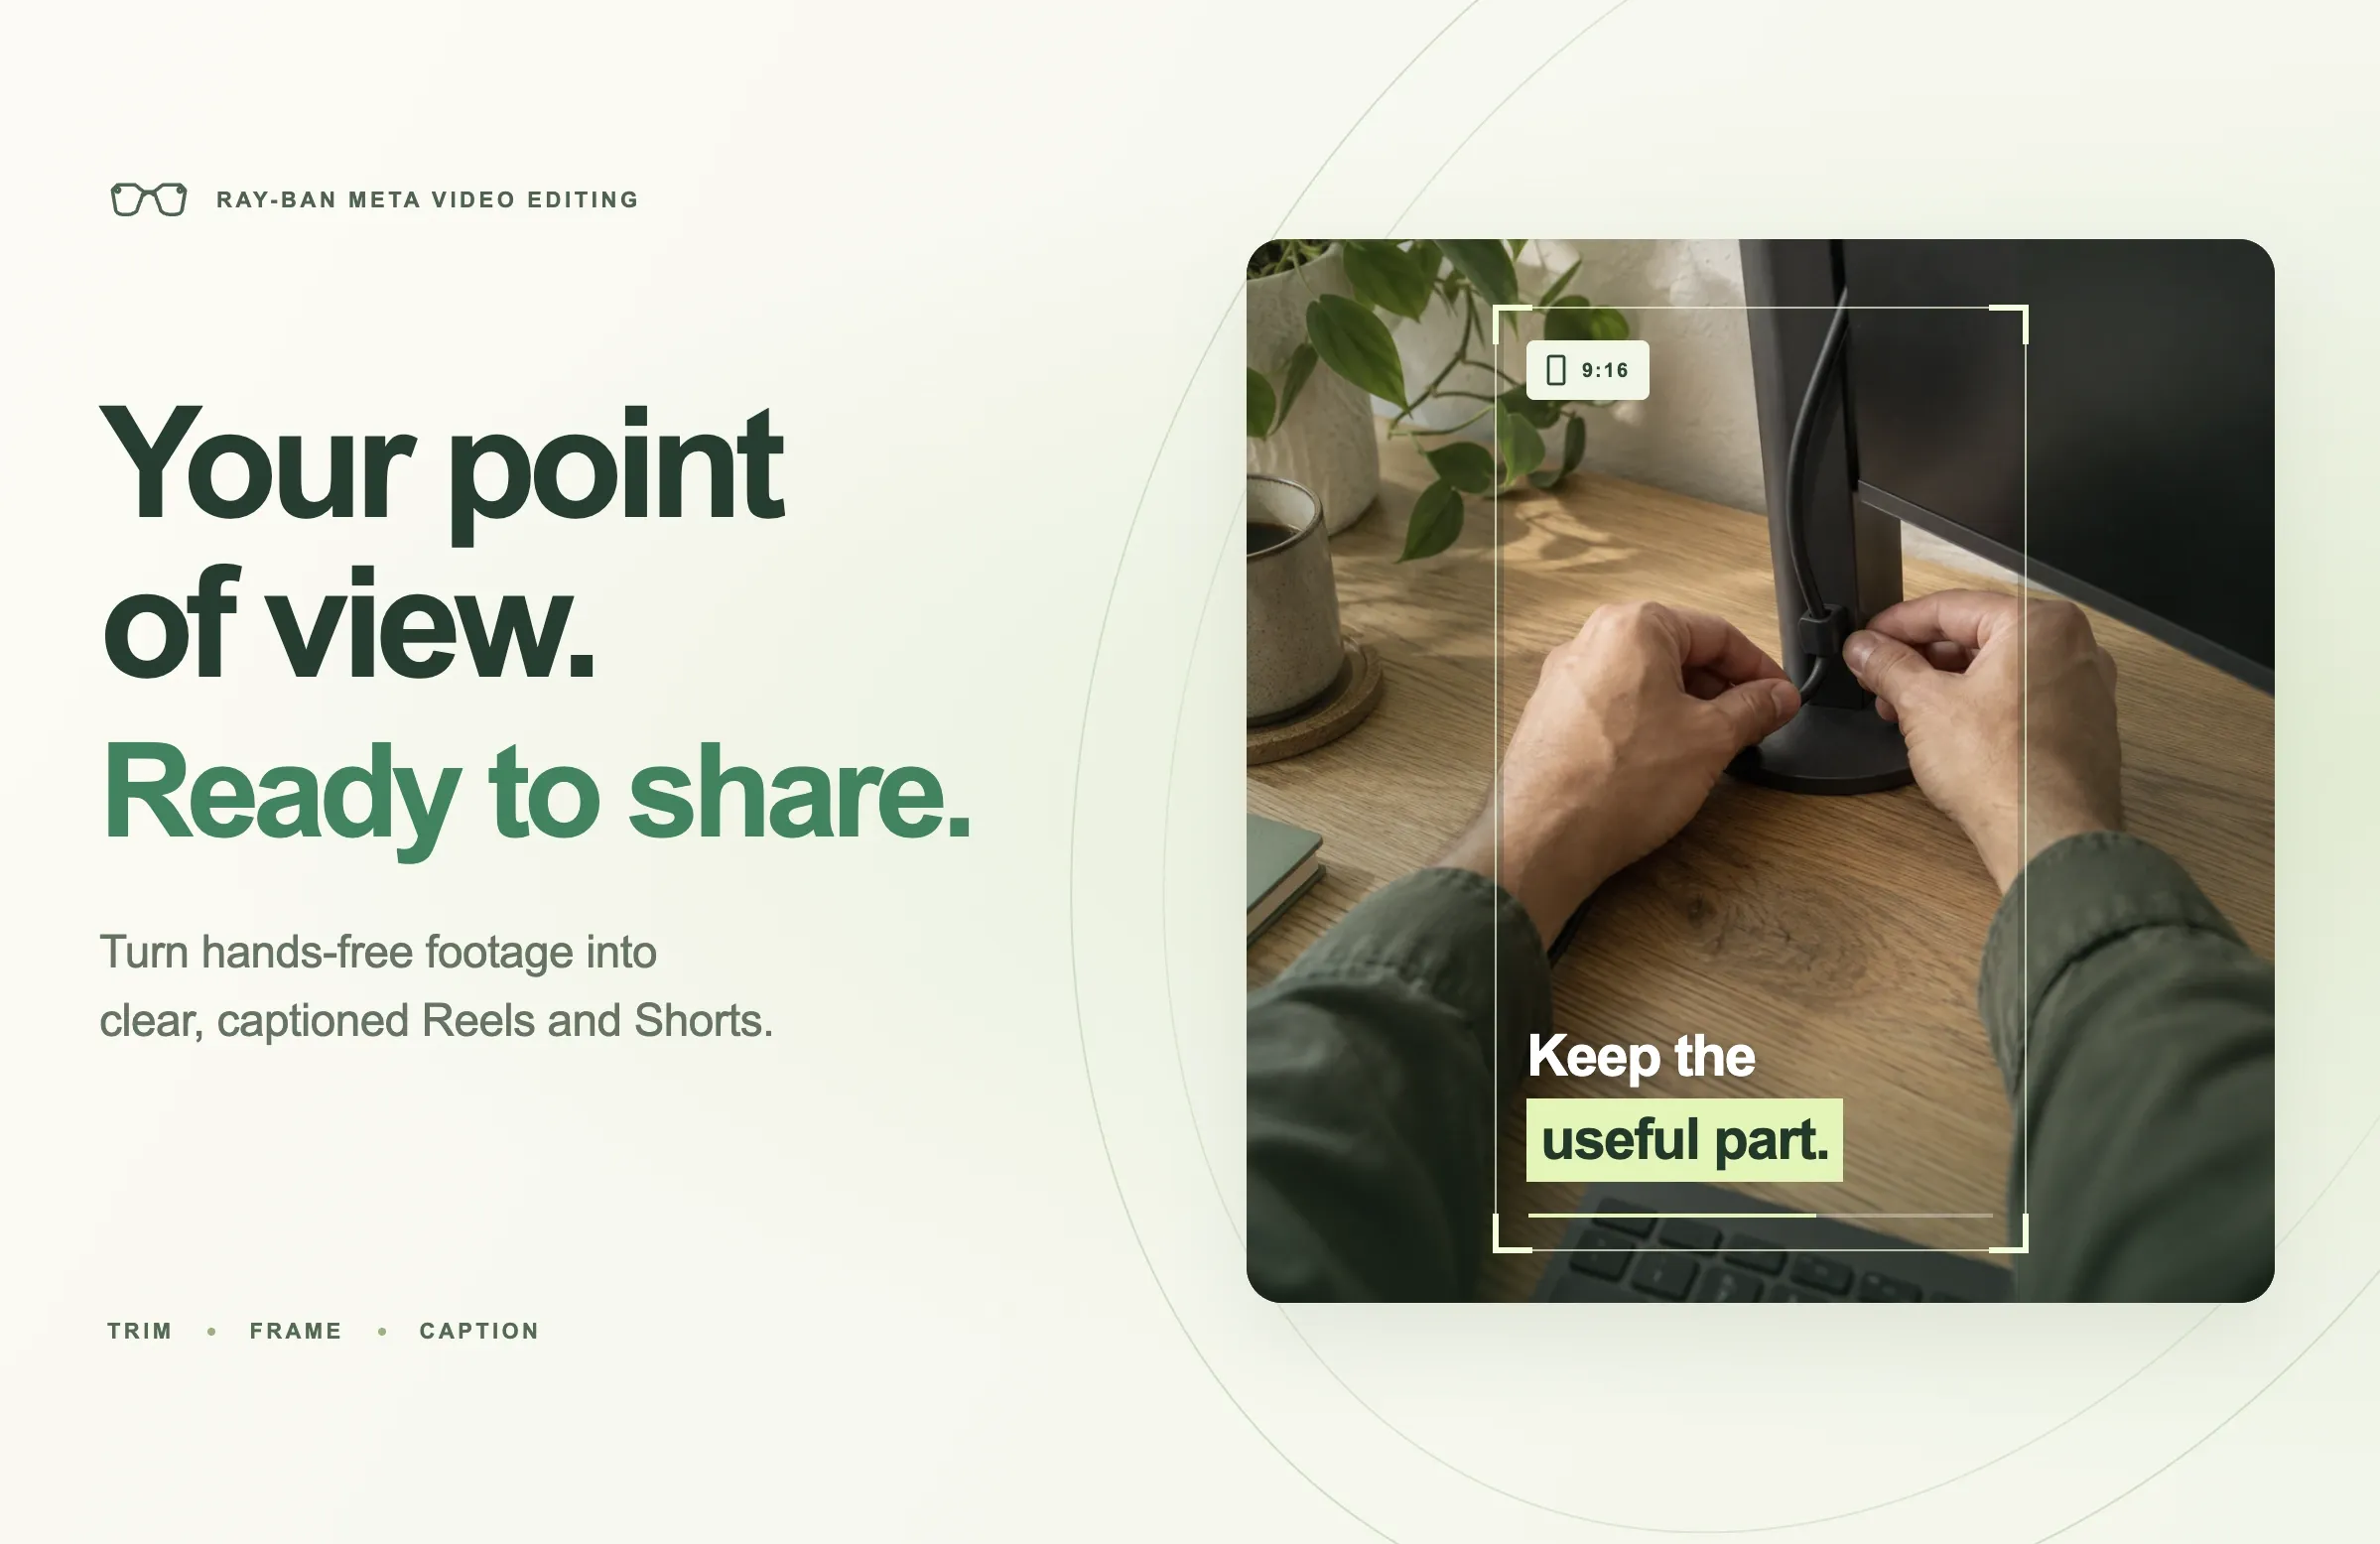
Prepare a vertical composition for the short-form version, then review the entire action. The important subject may be a connector near the edge of the desk rather than a face in the center.
Reap’s manual-framing guide explains how to select a layout, click the video on the timeline and move it on the canvas to refine the composition. Source: Reap’s manual-framing guide.
Check three moments: before the action, during it and after it. A crop can look correct in the opening frame but lose the object when your head turns.
If filling the canvas removes essential details, preserve more of the source image with a layout that accommodates it. Give the viewer enough room to understand the task.
Worked Example: A Desk-Setup Demonstration Becomes a Short
Imagine a recording in which you explain why a monitor cable keeps pulling loose, adjust its route and test the result. This is an illustrative edit plan, not a report of a video tested with the glasses or Reap.
A first cut might run for roughly 30 to 45 seconds. That is a useful planning range for this example, not a platform requirement or a promise about performance.
|
Part of the edit |
What viewers see |
What the edit needs to communicate |
|---|---|---|
|
Opening problem |
The monitor moves and the cable pulls tight |
The issue is cable tension during movement |
|
Explanation |
You point to the route behind the monitor |
The cable needs enough slack along the movement path |
|
Adjustment |
Your hands reposition the cable |
The viewer can follow the actual change |
|
Result |
You move the monitor again |
The adjustment leaves room for movement |
Keep the same idea running through the whole clip. An opening title such as “Cable pulls loose when you move your monitor?” introduces the problem without requiring viewers to know your setup.
During the adjustment, preserve the movement that shows where the cable goes. If you cut from the original position straight to the finished result, the video may show improvement without teaching the fix.
At the end, let the movement test finish. A short closing label such as “Check the full movement range” gives viewers a specific action to remember.
The same editing logic works for other subjects. A cooking clip can show the initial texture, the adjustment and the finished consistency. A product demonstration can show the control, the action and the response. Choose the sequence your footage actually supports.
Keep Captions Clear of the Action
When you add captions to Ray-Ban Meta videos, the most important placement decision is often where your hands will move next.
A fixed lower caption position may work for a seated interview. In a POV demonstration, that same position can cover the connector, ingredient or tool the viewer needs to see.
Find a readable position across the whole clip
Watch for an area that stays relatively clear as the recording moves. In Reap, select the captions in the preview and drag them to adjust their position, then review the result. Source: Reap’s caption-position guide.
Test the longest caption as well as the first one. A short phrase may sit comfortably above a hand, while a longer line extends across the object.
Choose a caption style that stays readable against changes in the background. Review both the brightest and darkest moments. A style that looks clear over a dark desk may disappear when the camera turns toward a window.
For a fuller walkthrough, see our guide to adding captions to YouTube Shorts.
Give titles and captions different jobs
A title introduces the subject. Captions communicate the spoken words. A brief label can identify a part or summarize a visible result.
Avoid placing all three in the same area at the same time. In the desk example, the opening question can disappear once the narration begins, leaving room for readable captions and the demonstration.
Handle silent footage honestly
A silent clip has no spoken transcript to caption. Use brief context labels if the action needs explanation, or prepare an accurate narration before generating speech captions.
For example, “Before: cable under tension” and “After: room to move” describe what the viewer should inspect. They work as editorial labels without suggesting that anyone spoke those words during the recording.
Check Framing, Audio and Export Before Posting
Prepare a clean master version before uploading your Ray-Ban Meta video to Instagram Reels or YouTube Shorts. A 9:16 canvas is a practical starting point for a full-screen vertical edit, but the composition still needs a final review.
Watch once for the pictures
Play the full edit with the sound off. Check whether the opening identifies the subject, the captions remain readable and the final result stays visible long enough to understand.
Keep important text away from the extreme edges and leave room for the destination app’s controls. Use our short-form video safe-zone guide as a starting point, then inspect the actual upload preview because interfaces and placements vary.
Listen once for the explanation
Listen without watching. Check whether the sentences still connect after trimming and whether important words remain audible.
Wind, movement and nearby conversation can compete with narration. Captions can help viewers follow speech, but they do not improve the recorded audio itself. If an essential instruction is unintelligible, record a clearer explanation or choose a different passage.
Review the downloaded file
Export the edit from Reap and watch the downloaded video from beginning to end. Confirm that the crop, text, timing and audio match your intended version before uploading it. Reap documents preview, export and download as the final steps of its editing workflow. Source: Reap’s video-editing guide.
A higher export resolution cannot restore detail that the source never captured. Judge the result on a phone at a normal viewing size, especially if the lesson depends on a small object or label.
In the destination app, review the cover, title and any added text or caption layers. Make sure the visible opening promises what the finished video actually delivers.
Common Problems With Glasses Footage
Most editing decisions become easier once you identify what is unclear. Use the table below to diagnose the recording before adding more effects or text.
|
Problem |
What to check |
Practical response |
|---|---|---|
|
The clip starts without context |
Does the first sentence refer to something viewers have not seen? |
Keep an earlier explanation or add a precise opening label |
|
The camera moves away from the task |
Is the essential action still visible anywhere in the recording? |
Use a complete visible passage or record the missing action again |
|
The vertical crop cuts off the object |
Does the source frame contain the full demonstration? |
Adjust the composition or preserve more of the source in the layout |
|
Captions cover the hands |
Where do the hands move during the longest line? |
Reposition captions and review the whole movement |
|
The edit feels rushed |
Did trimming remove a necessary visual step? |
Restore the step and shorten less useful material elsewhere |
|
Speech is hard to understand |
Is the problem transcription or the recording itself? |
Correct transcription errors; replace unclear narration when needed |
|
The ending feels incomplete |
Can viewers see the result? |
Keep the final test or outcome before closing |
For broader pacing and review techniques, explore our video editing tips. Start with the issue that prevents understanding; polish the visual style after the explanation works.
Final Thoughts
A useful glasses video gives viewers a perspective they can follow. Start with one problem, preserve the action that explains it and leave enough room for the result.
The practical Ray-Ban Meta video-editing workflow is to import the source, choose a complete moment, check the words and frame the task carefully. Each decision should make the demonstration easier to understand.
Ready to prepare your first edit? Upload a supported recording to Reap, refine the opening and ending, and use AI captions to make the spoken explanation easier to follow. Review the finished file before sharing it as a Reel or YouTube Short.