Good video editing is not measured by the number of transitions, effects or animated elements in a timeline. It is measured by how easily a viewer can understand the idea and how little friction stands between the opening frame and the payoff.
That principle applies whether you are editing a podcast clip, webinar, product demonstration, tutorial, interview, YouTube video, Instagram Reel or TikTok. The tools and dimensions may change, but the editor’s real job remains the same: decide what matters, remove what does not and guide attention through the story.
This guide contains 40 practical video editing tips organized around the complete workflow, from planning and hook selection to captions, B-roll, audio, exporting and review.
Short on time? Start with five improvements: open with the strongest complete idea, remove repeated information, make dialogue easy to hear, add accurate captions and check the final video on a phone before publishing.
Before you start editing
1. Give the video one job
Decide what the viewer should know, feel or do after watching. A clip designed to teach one tactic needs a different edit from a product teaser or a podcast trailer. If a video tries to explain five ideas, promote two offers and introduce a brand at the same time, no amount of polish will make it feel focused.
Write the job in one sentence before opening the timeline. Use that sentence to decide what stays.
2. Identify the audience and viewing situation
A YouTube tutorial watched on a laptop can support slower explanations and detailed screen recordings. A Reel discovered in a mobile feed must establish its subject quickly and remain understandable on a small screen. Consider the viewer’s device, familiarity with the topic and likely sound setting before choosing the pace, text size and amount of context.
3. Choose the destination before the aspect ratio
Do not finish a landscape edit and treat vertical versions as an afterthought. YouTube’s standard desktop player is 16:9, while Shorts can be square or vertical. Instagram accepts a range of Reel ratios, but 9:16 uses the full vertical canvas. Plan for the destination before placing faces, captions, slides and logos.
4. Organize source files before making cuts
Create simple folders for camera footage, screen recordings, audio, music, B-roll, graphics and exports. Rename files so they describe their contents instead of keeping camera-generated names. Ten minutes of organization can prevent an hour of searching later, especially when a project produces several social versions.
5. Protect the original recording
Keep an untouched copy of the source video and edit from a duplicate or non-destructive project. This gives you room to change the story, fix a mistake or create another clip later without rebuilding missing material.
Hooks and story structure
6. Start where the value starts
Remove greetings, housekeeping and long introductions unless they are necessary to understand the clip. The opening should quickly establish the problem, promise, result, question or tension that makes the next sentence worth hearing.
7. Keep the first claim honest
A dramatic hook may win the first second, but a misleading one creates disappointment. Make sure the rest of the video delivers what the opening promises. Retention built on confusion is not a useful editing strategy.
8. Let the first frame support the first sentence
If the speaker says, “Here is the mistake ruining your podcast clips,” show the speaker, the failed example or a clear headline about that mistake. An unrelated establishing shot makes the viewer process two messages at once.
9. Lead with proof when the result is visual
For transformations, tutorials and product demonstrations, show the finished result before explaining the process. A quick before-and-after comparison gives the viewer a reason to stay for the method.
10. Preserve enough context for the clip to stand alone
A sentence may sound powerful inside a one-hour conversation and confusing when isolated. Keep the premise, relevant qualification and complete conclusion. A good short clip is concise, but it should not distort what the speaker meant.
11. Build around one question and one payoff
Short videos become easier to follow when the structure is simple: establish a question, develop the answer and deliver a useful conclusion. If the speaker changes subjects, consider creating a second clip instead of forcing both ideas into one edit.
Pacing, trimming and cuts
12. Remove repeated meaning, not every pause
Cut false starts, duplicated explanations and sentences that add no new information. Be more careful with pauses. A short pause can create emphasis, allow a joke to land or give a complex idea room to register. Tight pacing should still sound human.
13. Cut filler words selectively
Removing every “um,” “like” and “you know” can make a conversation sound unnatural. Remove filler words that delay the point or distract from clarity, then listen through the edit at normal speed. Restore a word or breath when the cut sounds abrupt.
14. Cut at the end of a complete thought
A clip that ends mid-sentence or immediately before the explanation feels broken. When creating shorts from long-form video, inspect both sides of the proposed boundary. The best highlight is not useful if its start and ending do not make sense independently.
15. Use jump cuts with a purpose
Jump cuts are effective for removing dead time and maintaining energy in talking-head videos. They become distracting when every breath creates another cut. Combine nearby corrections where possible, and use a cutaway when several edits occur in a short span.
16. Cut on movement
A hand gesture, head turn or object movement can hide a transition because the viewer’s attention follows the action. Match the direction and speed of movement across the cut so the change feels intentional.
17. Use J-cuts and L-cuts for smoother conversations
In a J-cut, the next shot’s audio begins before its picture appears. In an L-cut, the current speaker’s audio continues after the image changes. These techniques are useful for interviews, demonstrations and B-roll because they connect scenes without interrupting the flow of speech.
18. Vary rhythm instead of cutting on a timer
There is no universal rule that requires a visual change every two or three seconds. Match the cut frequency to the content. A fast list can support quick changes, while an emotional answer or detailed explanation may need a longer hold.
19. Use transitions to show a real change
A transition should communicate a shift in time, location, subject or format. A clean cut is usually enough when the story continues in the same place. Save visible transitions for moments when they help the viewer understand that something changed.
Captions and on-screen text
20. Add captions for clarity and accessibility
Captions help people follow speech when they cannot hear the audio clearly and provide access for viewers who are Deaf or hard of hearing. The W3C recommends captions that include the speech and relevant non-speech audio needed to understand the content.
21. Correct names, numbers and specialist terms
Automatic captions can produce a fast draft, but proper nouns, acronyms, prices, dates and technical vocabulary deserve manual review. One incorrect product name can undermine an otherwise professional clip.
22. Break captions by meaning
Keep related words together and avoid splitting a phrase at an unnatural point. A caption such as “increase customer” followed by “retention” is harder to process than displaying the full concept together.
23. Make text readable against every frame
Use sufficient contrast, a clean typeface and a size that remains legible on a phone. A subtle shadow, stroke or background box can protect white text when footage moves between bright and dark areas.
24. Keep captions away from interface controls
Platform buttons, descriptions and profile information cover parts of a vertical video. Keep important text away from the extreme top, bottom and right edge. Preview the video inside the destination app whenever possible.
25. Highlight only the words that deserve emphasis
Color changes and word-by-word animation can guide attention, but highlighting every word removes the hierarchy. Emphasize the number, contrast, action or key term that carries the sentence.
26. Separate captions from headlines
A headline explains the subject of the clip. Captions transcribe what is being said. Give them different positions and visual roles so they do not compete for the same space.
B-roll, framing and visual variety
27. Use B-roll to explain something
When the speaker mentions a product, chart, location or action, show it. Specific supporting footage improves understanding more than a generic visual selected only because it looks attractive.
28. Cover difficult edits with a relevant cutaway
B-roll can hide a jump caused by removing a mistake, shortening a pause or joining two takes. Keep the original dialogue underneath so the cutaway supports the story instead of interrupting it.
29. Do not change visuals without a reason
Constant movement can become as tiring as a static frame. Add a crop, zoom, graphic or B-roll shot when it introduces information, emphasizes a point or resets attention after a long visual hold.
30. Reframe for the subject, not just the canvas
Converting 16:9 footage to 9:16 is not simply a center crop. Track who is speaking, keep important gestures visible and switch layouts when multiple speakers interact. For demonstrations, make sure the product or screen remains readable.
31. Use split-screen layouts only when both views matter
A podcast clip may benefit from showing both speakers during a reaction. A tutorial may need the presenter and screen simultaneously. If the second view adds no information, give the primary subject more space.
32. Keep color correction consistent
Match exposure, white balance and skin tone before applying a creative look. When shots from different cameras alternate, inconsistent color is more distracting than a simple, neutral grade.
Dialogue, music and sound
33. Treat clear dialogue as the priority
Viewers can accept an imperfect camera angle more easily than speech they cannot understand. Set dialogue first, then place music and sound effects around it. Listen on headphones, phone speakers and a laptop before approving the mix.
34. Remove steady noise before raising the volume
Increasing the level of a quiet recording also increases hum, hiss and room noise. Apply noise reduction carefully, then adjust loudness. Excessive cleanup can create metallic or watery speech, so compare the processed audio with the original.
35. Keep room tone for invisible edits
A brief recording of the room without speech can fill gaps between dialogue cuts. Without it, one section may suddenly drop into unnatural digital silence.
36. Duck music beneath speech
Background music should support energy without competing with the words. Lower it during speech and allow it to rise during intros, demonstrations or visual sequences. If you notice the music more than the message, it is probably too loud.
37. Use sound effects sparingly
A subtle click, whoosh or impact can reinforce an action or text reveal. Repeating an effect on every caption or cut quickly becomes distracting. Sound design should help viewers notice important changes, not announce the editor’s presence.
Platform versions, AI and final review
38. Create platform versions from a clean master
Finish the story, dialogue and core visual sequence first. Then create separate versions for vertical, square and landscape placements. YouTube recommends 16:9 for its standard desktop experience, while square or vertical videos up to three minutes can qualify as Shorts. Instagram Reels accepts ratios from 1.91:1 to 9:16.
Avoid adding permanent black bars. Let the platform adapt the player or create a version designed for the intended canvas.
39. Let AI create the first pass, not the final decision
AI can transcribe speech, find candidate moments, remove silence, reframe speakers, generate captions and prepare multiple aspect ratios. That makes it useful for reducing repetitive work. A person should still check the opening, context, caption accuracy, crop and ending before publishing.
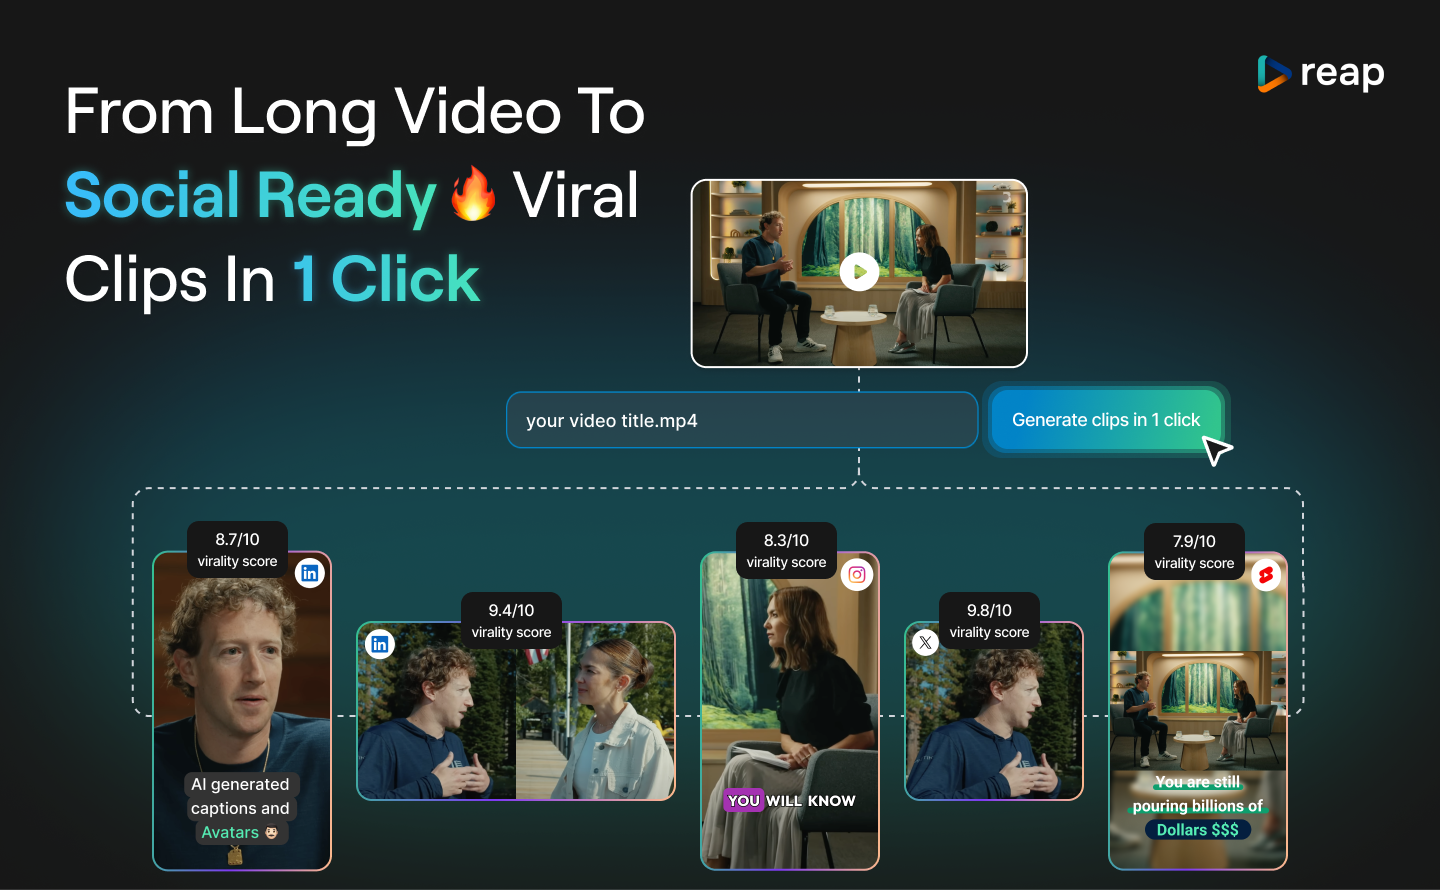
For long podcasts, webinars, interviews and presentations, an AI clipping workflow can turn a source recording into several review-ready drafts. Reap supports this process with clipping, captions, reframing, B-roll, translation, dubbing and publishing tools in one workflow.
40. Watch the export as a viewer
Do one uninterrupted review after exporting. Do not watch inside the editing timeline, where cuts and waveforms reveal what is about to happen. Check the first frame, last frame, spelling, caption timing, audio changes, blank frames, crop, logo placement and call to action.
Final review question: If the viewer knows nothing about the source recording, will the video still make sense from beginning to end?
A practical video editing checklist
|
Editing area |
Questions to ask |
|---|---|
|
Purpose |
Does the video have one clear job and audience? |
|
Opening |
Does the first sentence establish a reason to continue? |
|
Context |
Can the clip be understood without the full recording? |
|
Pacing |
Have repeated ideas and distracting pauses been removed? |
|
Captions |
Are names, numbers and technical terms correct? |
|
Visuals |
Does each cutaway, crop or graphic support the message? |
|
Audio |
Is dialogue clear on headphones and small speakers? |
|
Platform |
Are the framing and text placement appropriate for the destination? |
|
Ending |
Does the final thought feel complete and is the next step clear? |
How Reap can speed up this editing workflow
These editing principles still matter when AI handles the first pass. The difference is that you no longer need to start every short video from an empty timeline.
Reap is designed for creators and teams that already have long-form recordings such as podcasts, webinars, interviews, presentations, tutorials and YouTube videos. It turns those source recordings into review-ready short clips, then keeps the essential editing steps together in one workflow.
With Reap, you can:
- Find candidate highlights without manually watching the entire recording again
- Generate multiple short clips from one long-form source
- Trim weak openings and adjust clip boundaries
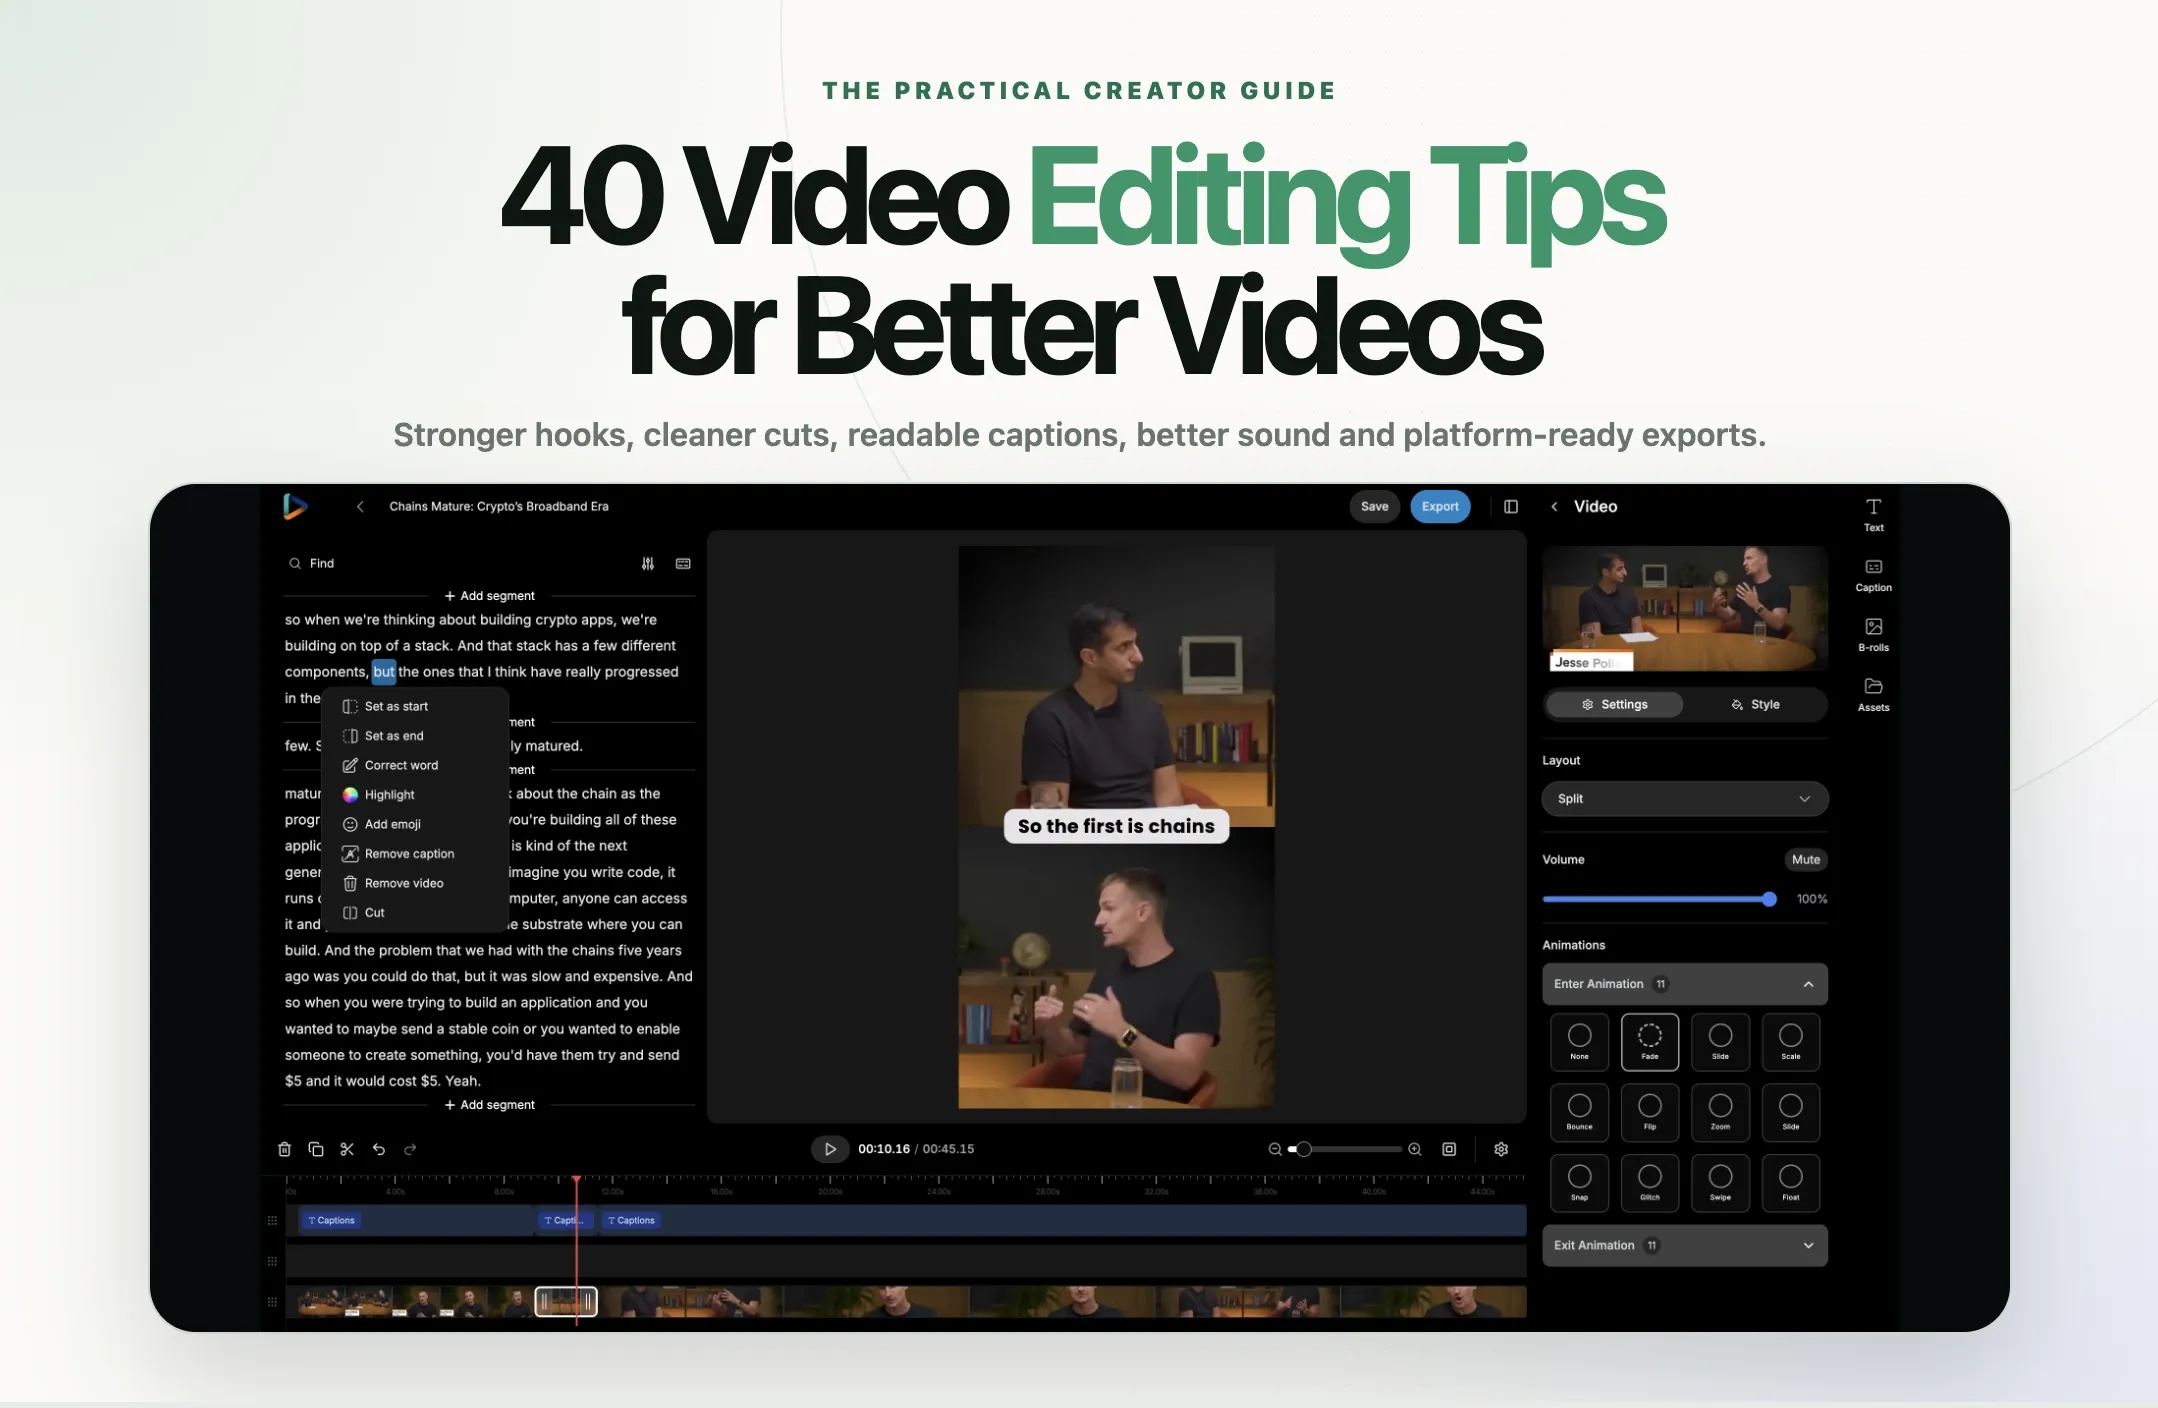
- Generate and correct captions
- Reframe footage for vertical, square and landscape formats
- Keep active speakers and important subjects visible
- Add B-roll, text, assets and brand styling
- Translate or dub videos for additional audiences
- Export or prepare finished clips for publishing
The best approach is to treat the generated clips as editorial drafts. Review the hook, confirm that each clip preserves the speaker’s meaning, fix names and technical terms in the captions, adjust the crop and make sure the ending feels complete.
Have a long video ready? Try Reap to turn it into short, captioned and platform-ready clips, then apply the checklist above before publishing.
The best editing is usually the clearest editing
The most useful video editing tips are not tricks. They are decisions that help a viewer understand the message with less effort.
Start with the strongest complete idea. Remove repetition without removing personality. Make dialogue clear. Use captions, B-roll and motion to support meaning. Adapt the result for the platform, then review the export like someone seeing it for the first time.
Software can accelerate each step, and AI can remove much of the repetitive first-pass work. The final standard still depends on editorial judgment. A good editor does not ask how many effects can be added. A good editor asks what the viewer needs next.