You finish editing a Short, watch it again and hesitate over the upload button. The idea is useful, but the introduction feels slow. Would someone seeing you for the first time understand why they should keep watching?
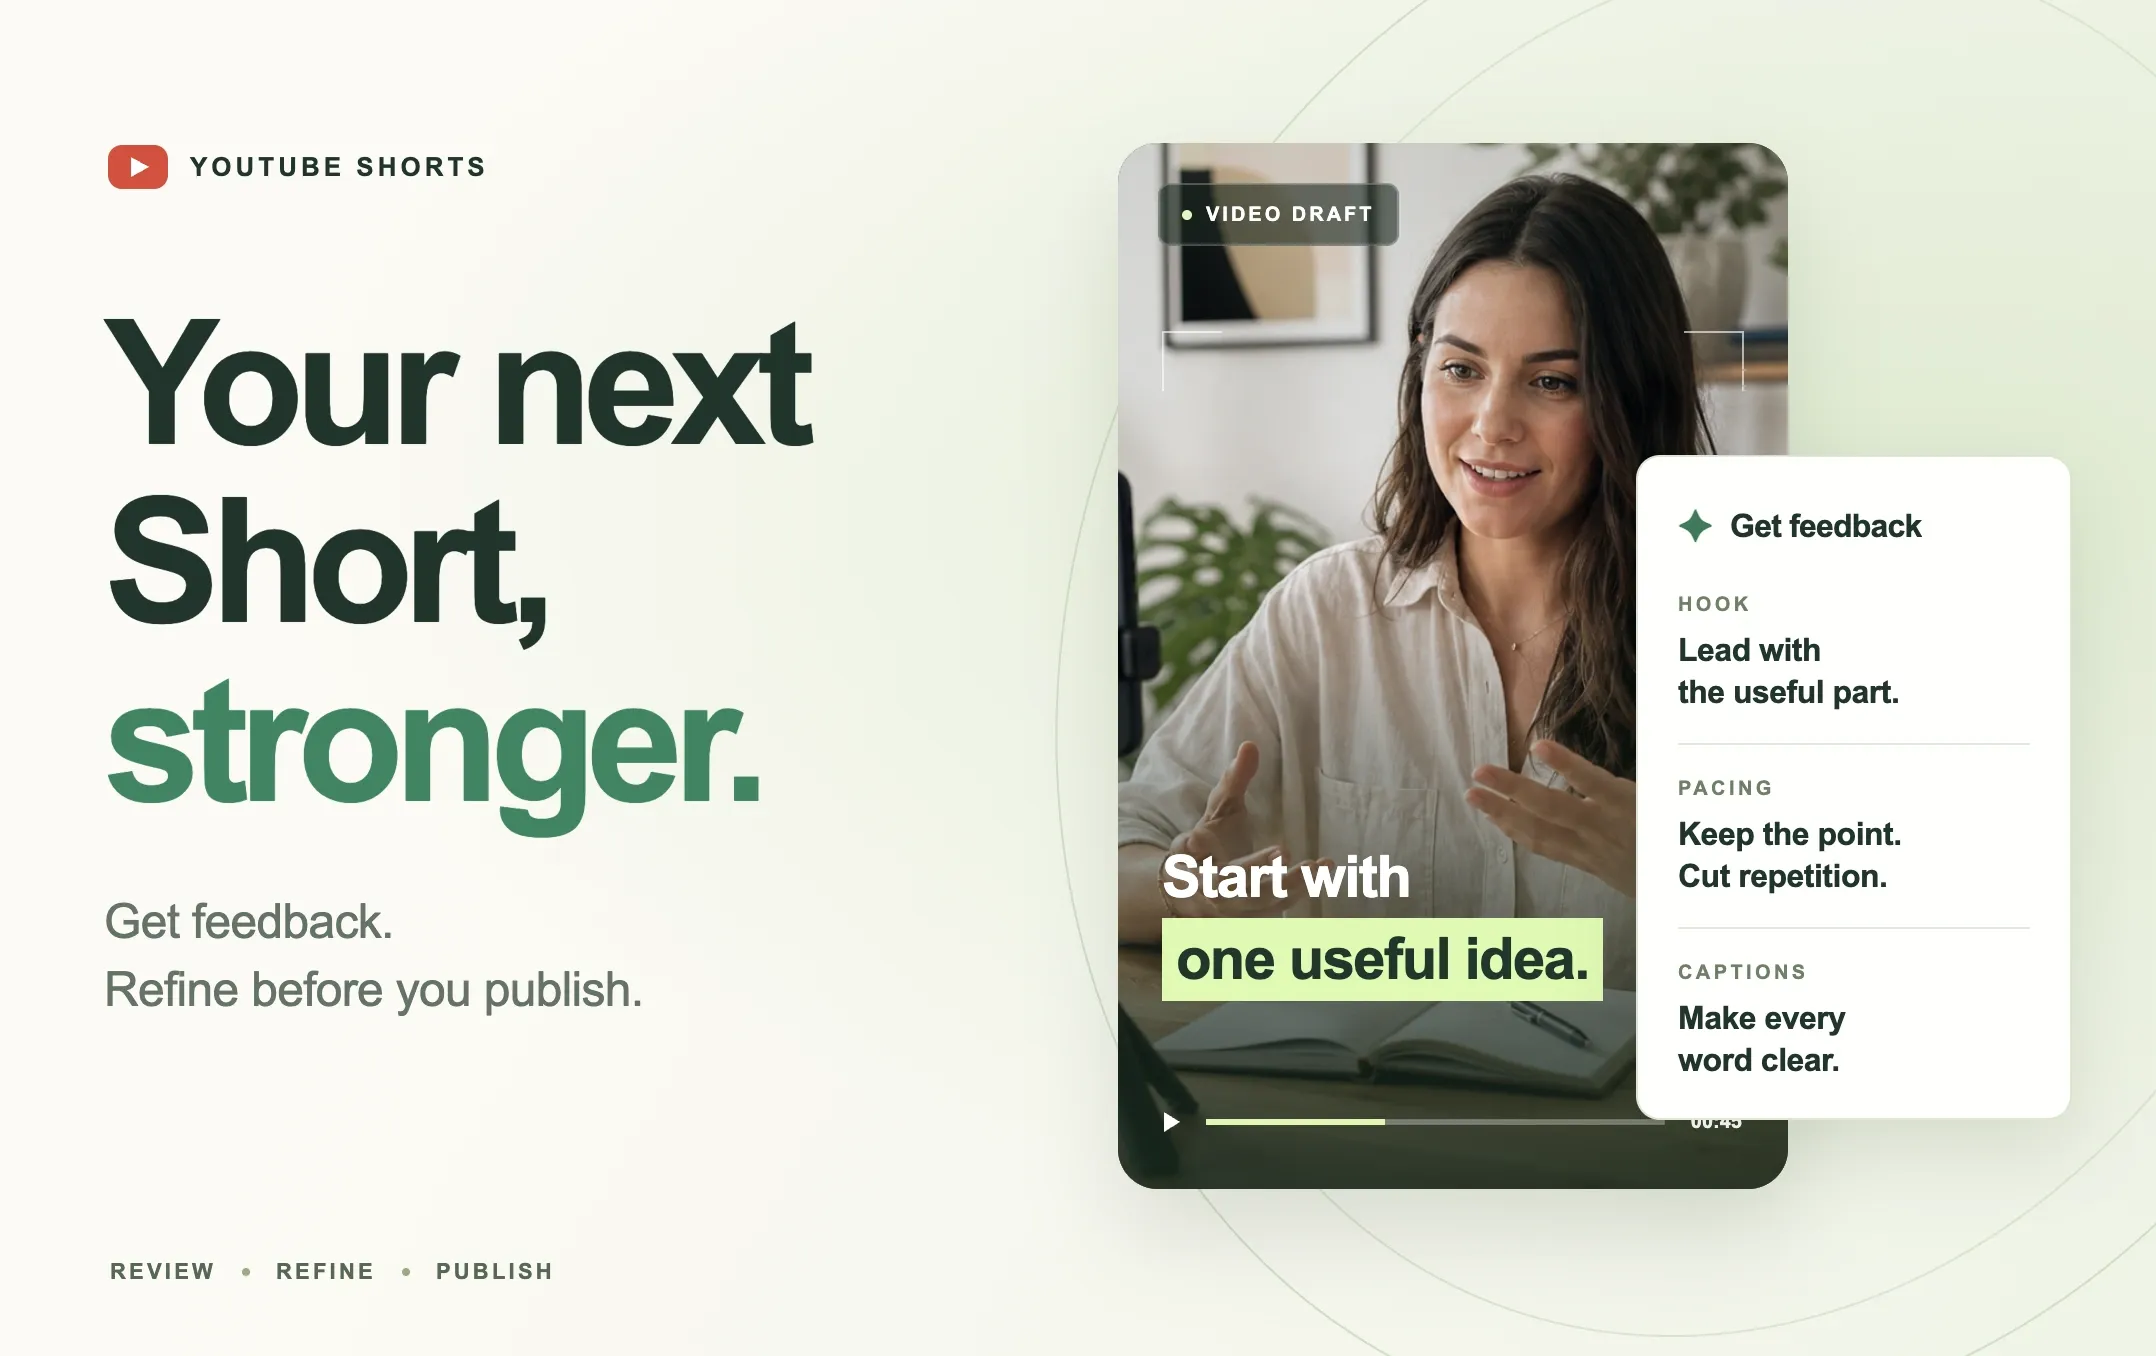
YouTube Shorts Get Feedback adds a review step at that moment. YouTube's help documentation now includes a button that analyzes your video's hook, pacing and more before you publish. Source: YouTube Help.
For creators turning interviews, podcasts and tutorials into short videos, the useful question is what to do with that guidance. A suggestion about pacing still leaves you deciding which sentence to cut. A weak opening still needs a better place to start.
This guide explains the feature, its announced availability and a practical approach to improving your clip with Reap before it reaches your audience.
Quick Answer: What Is YouTube Shorts Get Feedback?
YouTube Shorts Get Feedback provides suggestions during the Shorts upload process. Eligible creators can find it on the Add Details screen. Use it to review the clip, then decide which changes serve your message. Source: YouTube's creation guide.
The feature offers guidance; you remain responsible for the final edit. Reap can support that editing work through video clipping, captions and its video editor.
Who Can Use YouTube Shorts Get Feedback?
In its September announcement, Creator Insider described the feature as expanding to creators in the United States who are over 18 and use the main YouTube app on Android or iPhone. That announced scope should not be treated as worldwide availability. Source: Creator Insider, from 1:23.
The same announcement explains that the guidance is optional and does not change the video automatically. Creators can accept the suggestions that fit their work and leave the rest. Source: Creator Insider, from 0:53.
Availability information here was checked on September 17, 2026. If the button is absent, use the manual review steps below while checking YouTube's current guidance.
How to Use Get Feedback on YouTube Shorts
YouTube documents the button within the normal creation flow:
- Prepare your Short in the main YouTube mobile app.
- Continue to the screen where you add the video's details.
- Tap Get feedback, if the button is available.
- Review the analysis before choosing to publish or save the draft.
These steps follow YouTube's Shorts instructions. They describe the documented flow, rather than a hands-on test of every account or app version.
Before making changes, write the Short's purpose in one sentence. For example: “Help a new project manager understand why every task needs one clear owner.”
Now evaluate the feedback against that purpose. Does a suggested change make the explanation easier to understand? Would it remove something viewers need? Could a different edit solve the same problem more clearly?
Keep a short list of chosen revisions. “Start on the task-owner example” is actionable. “Make it more engaging” still needs an editorial decision.
How to Turn Feedback Into a Better Edit
The following editing checks are practical recommendations from Reap. They are not an exhaustive list of what YouTube's tool evaluates, and they remain useful when you do not have access to it.
Make the opening specific
A good opening helps the intended viewer recognize the subject and its relevance.
For an interview clip, the best starting point may come after the greeting, introduction or first attempt to phrase the answer. Listen for the moment the speaker names a problem, explains a consequence or makes a useful observation.
Consider these two illustrative openings:
- “Today I wanted to share a few thoughts about managing projects.”
- “When a task has three owners, everyone can assume someone else will finish it.”
The second gives the viewer a recognizable situation immediately. It also creates a clear expectation: the clip will explain responsibility on a project.
When editing existing footage, choose words the speaker actually said. If the stronger sentence is missing from the recording, consider a short new introduction or an accurate text overlay. Captions should represent the spoken words.
Tighten pacing around the explanation
Pacing is the movement from one useful thought to the next. The right edit depends on what the audience needs to follow.
Watch for a point being repeated, a long setup before an example, or a closing sentence that simply restates the opening. These are candidates for trimming.
Keep pauses that help a difficult idea land. Leave enough time to read an on-screen example. Preserve qualifications such as “for this type of project” when they affect the claim.
A useful review question is: what would the viewer lose if this section disappeared? If the answer is context, evidence or the conclusion, find a different place to shorten the clip.
For spoken content, read the edited transcript aloud and then watch the cuts with sound. A sentence can read smoothly while the video jumps awkwardly between gestures or changes in tone.
Make captions easy to follow
Check captions against the audio, especially names, numbers and product terminology. A small transcription error can change the practical meaning of an otherwise clear explanation.
Read the captions at normal playback speed on a phone-sized preview. Notice whether a phrase disappears before you finish reading it or covers the interface detail being demonstrated.
Use emphasis selectively. If every word changes color or size, the viewer has to work harder to recognize the information that matters.
In Reap, you can select an incorrect word in the transcript, use the correction option and review the result. Source: Reap's caption correction guide. For a broader walkthrough, see how to add captions to YouTube Shorts.
Choose visuals that explain the point
Match the image to the sentence the viewer is hearing. If a speaker describes a software setting, a readable demonstration can make the instruction easier to follow. If they compare two outcomes, show the difference while they explain it.
Review the crop as carefully as the asset. A desktop screen squeezed into a vertical frame may contain the right information at an unreadable size. Focus on the relevant area and keep essential labels visible.
Some moments work best with the speaker in frame. Let a useful expression, demonstration or object carry the shot when it already communicates the idea.
A Practical Reap Workflow Before Publishing
Use this as an editorial workflow built around the documented capabilities of both tools. YouTube's feedback and your Reap project are separate: you carry the chosen revisions between them.
Step 1: Start with the right source
If your material is a longer interview, webinar or podcast, use Reap's clipping workflow to generate candidates. You can choose settings such as orientation, clip length and caption style, and use Clip Topics to focus on a subject. Source: Reap's clipping guide.
If you already have a short video, open it through Reap's AI Editor workflow. Upload a supported file, choose the spoken language and resolution, and submit it for editing. Source: Reap's video editing guide.
Choose a passage that delivers a complete answer. A strong opening has little value if the source ends before the promised explanation.
Step 2: Build a clear first version
Give the Short one main job. For the project-management example, that job is to explain the difference between helping with a task and owning its completion.
Watch the candidate from the perspective of someone who missed the full conversation. Replace an unclear starting point, keep the example that explains the idea and finish where the answer feels complete.
In Reap's editor, transcript actions include setting the start or end, cutting video and correcting words. The editor also provides caption, layout and supporting-asset controls. Source: Reap editor documentation.
Step 3: Review the export in the upload flow
Watch the exported file, then prepare it in YouTube's Shorts upload flow. If Get Feedback is available, use it before publication.
Record the suggestions you want to address and the reason for each revision. For example: “Remove the second explanation of task ownership because the demonstration already makes it clear.”
If you disagree with a suggestion, keep the version that best serves the audience. You may know that viewers need a particular example or that a slower explanation is appropriate for the subject.
Step 4: Apply the chosen revisions in Reap
Return to the editable project and work through the revision list. Make the structural changes first so you can judge the new sequence before polishing its presentation.
Then check the joins, caption timing and visual emphasis. Trimming a sentence can change where an overlay should appear or leave too little time for an example.
Keep your first export for comparison. Watch both versions from the beginning and describe what changed. The revised version should make the intended improvement apparent without needing an explanation from its editor.
Step 5: Upload the revised file and inspect it
Export the final version and select that file for the upload. Double-check the filename and preview so the earlier draft is not published by mistake.
Review the title, captions, framing and ending together. A title promising a step-by-step tutorial should lead to a clip that actually demonstrates the steps.
Publish when the video communicates its intended point clearly. Another review is useful when it answers a specific unresolved question; repeated polishing without a clear purpose can make finishing harder.
Example: Improving a 45-Second Interview Clip
Imagine a fictional interview about project handoffs. The initial clip runs for 45 seconds and contains a greeting, a general introduction, a useful task-owner example and a recommendation.
The table below shows an illustrative revision plan. It is not output from YouTube's tool or a claim about measured performance.
|
Part of the clip |
First version |
Proposed revision |
|---|---|---|
|
Opening |
Greeting followed by a broad topic introduction |
Start with the recorded sentence describing the ownership problem |
|
Explanation |
The speaker defines ownership twice |
Keep the clearer definition and its example |
|
Visual support |
The speaker refers to a task board off screen |
Show a readable sample board at that moment |
|
Captions |
A project name is transcribed incorrectly |
Correct the word and preview it with the audio |
|
Ending |
A long sign-off follows the recommendation |
Finish after the complete takeaway |
The exact final duration depends on the source. The goal is a complete answer with fewer obstacles between the viewer and the useful idea.
Before exporting, check that the edits have preserved the distinction the speaker was making. Removing “one accountable owner, with several contributors” could turn the advice into the inaccurate suggestion that only one person should work on a task.
That final meaning check is especially important when repurposing a webinar into short video clips, where an explanation may rely on context elsewhere in the recording.
What If the Get Feedback Button Is Missing?
Start with the announced access conditions above and make sure you are checking the main YouTube mobile app. The Creator Insider announcement describes an expanding rollout, so the feature should not be assumed to appear in every account.
If access remains unavailable, continue with a manual review: watch the opening without its surrounding conversation, read the captions, check each cut and ask someone unfamiliar with the subject to explain the takeaway.
Their answer can reveal a gap immediately. If they describe a different lesson from the one you intended, revise the explanation before spending more time on visual polish.
You may also encounter feedback features in Ask Studio. YouTube separately documents script review and feedback on unpublished videos there. Follow the Ask Studio instructions for that workflow; its interface and eligibility are distinct from the mobile Shorts button.
How to Evaluate the Short After Publishing
Pre-publication advice gives you ideas to evaluate. Audience behavior helps you understand what happened when people encountered the finished video.
In YouTube Analytics, review these measures together:
|
Measure |
What it tells you |
|---|---|
|
Stayed to watch |
The percentage of times viewers continued beyond the opening seconds |
|
Engaged views |
Views where people stayed beyond the initial seconds, excluding loops |
|
Average view duration |
Average time watched among viewers who stayed |
|
Average percentage viewed |
Average share of the Short watched among viewers who stayed |
These definitions follow YouTube's content-performance documentation.
Compare clips with similar subjects, lengths and time since publication. Keep a note of the editorial choice you were testing, such as opening on an example instead of an introduction.
Treat a difference as a reason to investigate. Topic, audience and distribution can also affect the outcome, so a better result on one video does not prove that a single cut caused it.
Read relevant comments alongside the numbers. Questions about an unexplained step can guide the next clip, even when the current video attracted plenty of views.
Final Thoughts
The useful habit behind YouTube Shorts Get Feedback is making time for one deliberate review before publication.
Start with the point your viewer should understand. Check how quickly it becomes clear, whether the explanation holds together and whether the captions and visuals support it. Choose a small number of specific revisions and review the finished result.
Use Reap's AI video editor to put those decisions into the clip. If your starting point is a longer conversation, begin with Reap AI Clipping and choose the answer worth sharing.
Then let the questions and viewing patterns from that Short help shape your next one.