The webinar is over. The recording is sitting in a folder. A replay email goes out, a few people watch it, and then the most expensive piece of content your team produced that month quietly disappears into the archive.
That is the old webinar workflow.
The better approach is to treat the webinar as source material.
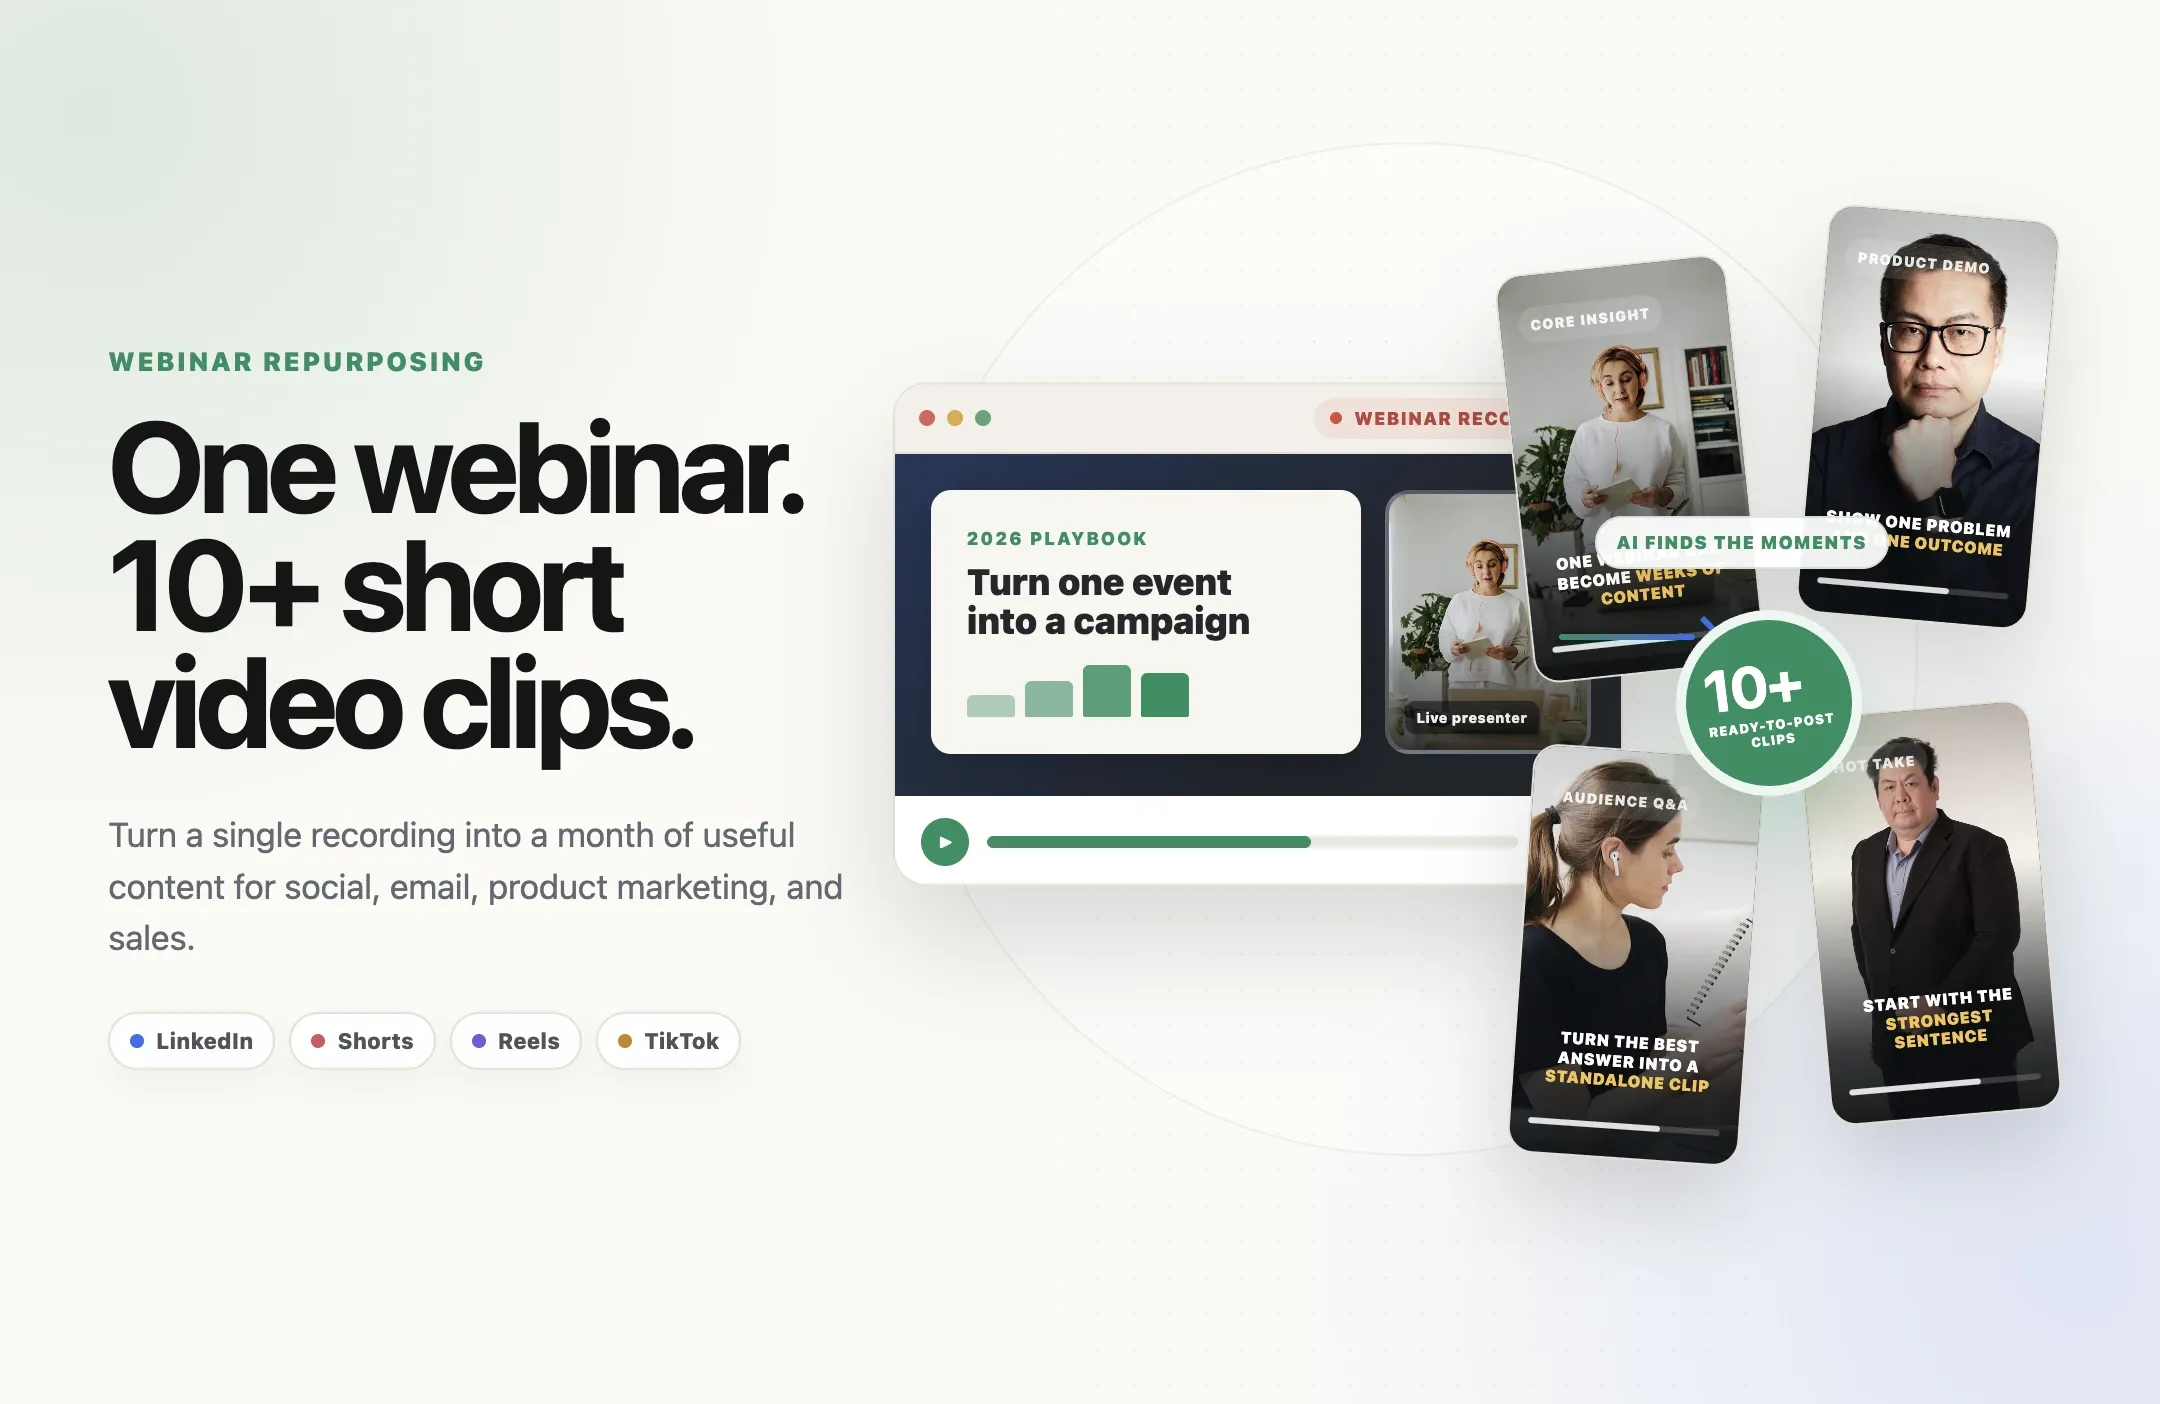
One 45- to 60-minute webinar can become a launch trailer, educational clips, product demonstrations, audience Q&A answers, objection-handling videos, LinkedIn thought-leadership posts, sales follow-ups, and short videos for YouTube, Instagram, and TikTok.
This is not a fringe content tactic. In Wistia's 2026 State of Video report, webinars ranked as the second-most impactful video type. Almost 90% of teams hosting webinars said they reuse the content, and creating social clips is one of the most common ways they do it.
The opportunity is especially strong in B2B. Wistia found that LinkedIn is now the leading channel for business video, while LinkedIn's own 2026 research found that 78% of B2B marketers already use video and 56% plan to increase their use of it.
The content is already recorded. The job now is to turn it into assets people will actually watch.
With Reap's AI video clipping tool, you can upload a webinar, guide the AI toward specific topics, generate clips, add captions, reframe for social platforms, refine the results, and prepare a full campaign without manually scrubbing through every minute.
Free plan. No catch.
Clip, caption, and publish a short every day. Zero cost, zero limits on creativity.
What does it mean to repurpose a webinar?
Webinar repurposing means turning the original event and recording into additional content for different audiences, channels, and stages of the customer journey.
The full replay is one asset. It is not the whole strategy.
A replay works for people who already care enough to watch a long session. Short clips reach people who never registered, missed the event, do not have an hour available, or only care about one specific answer.
Those clips can live in:
- LinkedIn posts
- YouTube Shorts
- Instagram Reels
- TikTok videos
- Email follow-ups
- Blog posts
- Product pages
- Sales sequences
- Retargeting campaigns
- Help centers
- Community posts
- Internal enablement libraries
The important word is repurpose, not repost.
Uploading the same horizontal excerpt everywhere is distribution. Repurposing means changing the hook, length, crop, captions, context, and CTA so the moment works in its new destination.
That is why webinar repurposing is both an editing task and a content-strategy task.
How many short clips can you get from one webinar?
A useful 45- to 60-minute webinar can often produce 10 or more clips, but duration alone does not determine the number.
A focused webinar with clear sections, useful explanations, a product demonstration, and audience questions may produce 15 strong assets. A vague discussion with long introductions and repeated points may only produce three.
Do not set the goal as “make as many clips as possible.” Set it as “find every moment that can do a useful job on its own.”
Here is a practical 10-clip plan:
|
Clip |
What to extract |
Best use |
|---|---|---|
|
1. Webinar trailer |
The promise, tension, and strongest preview |
LinkedIn, email, event replay page |
|
2. Core insight |
The most useful standalone lesson |
LinkedIn, YouTube Shorts |
|
3. Strong opinion |
A clear, defensible point of view |
LinkedIn, Reels, TikTok |
|
4. Key statistic |
A surprising number plus its meaning |
LinkedIn, sales follow-up |
|
5. Product demonstration |
One feature solving one problem |
Product marketing, sales, social |
|
6. Customer pain point |
A recognizable problem in the audience's language |
Demand generation, paid social |
|
7. Objection answer |
A clear response to a buying concern |
Sales enablement, retargeting |
|
8. Audience Q&A |
A complete answer to a strong question |
LinkedIn, FAQ, YouTube Shorts |
|
9. Speaker quote |
A memorable statement from the host or guest |
Thought leadership, brand social |
|
10. Final takeaway |
The clearest summary and next step |
Replay promotion, email, social |
One webinar can also produce several versions of the same moment. A 90-second LinkedIn explanation, a 45-second vertical Short, and a 20-second teaser may all come from one section, but each version should have a different purpose.
Plan the webinar for repurposing before you go live
The easiest webinar to clip is one that was designed with future clips in mind.
You do not need to script every sentence, but you should create clear editorial moments throughout the session.
Build the agenda around distinct ideas
Each section should answer one question or make one main point.
“Three reasons your content workflow is slow” is easier to clip than a 20-minute discussion that moves between unrelated ideas. Clear chapters give the AI and the editor natural boundaries.
Ask speakers to answer in complete thoughts
A short clip should make sense without the preceding five minutes.
Encourage the host to repeat the subject inside the answer. Instead of saying, “Yes, that is the biggest problem,” say, “The biggest problem with manual webinar repurposing is the time spent finding usable moments.”
The second answer can stand alone. The first cannot.
Create repeatable clip moments
Add questions to the run of show that naturally produce useful assets:
- What is the biggest mistake teams make?
- What changed your mind about this topic?
- What should a beginner do first?
- What result surprised you?
- What is the strongest argument against this approach?
- Can you show the workflow in one minute?
- What should viewers remember tomorrow?
These are good webinar questions and good clip prompts.
Record clean audio and readable screens
AI can find moments and speed up editing, but it cannot fully rescue an unreadable screen share or heavily distorted audio.
Use a clear microphone, record at a useful resolution, keep important slide text large, and avoid placing essential information at the extreme edges of the frame. If the webinar platform can record speakers and shared screens separately, preserve those files for more editing flexibility.
How to repurpose a webinar into short clips with Reap
The best workflow starts with the campaign goal, not the editing software.
Here is a practical process for turning one webinar into a publishable set of clips.
Step 1: Choose the outcome
Decide what the clips need to achieve.
Possible goals include:
- Promote the webinar replay
- Build founder or executive thought leadership
- Explain a product category
- Demonstrate a new feature
- Generate leads for the next event
- Answer sales objections
- Support customer education
- Create a month of social content
This decision changes which moments matter.
The most entertaining moment is not always the best sales clip. The strongest product demo is not always the best LinkedIn thought-leadership post. A clear goal gives the clipping workflow a definition of relevance.
Step 2: Download and prepare the webinar recording
Export the webinar as a local video file or use a supported source link.
If the recording came from Zoom, Google Meet, Microsoft Teams, Riverside, or another webinar platform, download the highest-quality version available. Trim long countdowns, empty waiting rooms, technical interruptions, and private post-event conversation before processing.
Reap's clipping documentation supports common local video formats and uploads between one minute and three hours, with a maximum file size of 10 GB. You can also paste a supported video link instead of uploading a local file.
Step 3: Upload the video to Reap
Open Reap, upload the webinar recording or paste the supported link, and select Get Clips.
Choose the genre that best matches the source. A speaker-led webinar may work as talking content, while a slide-heavy or screen-share session should use the presentation-oriented workflow.
If only one part of the webinar matters, use the processing timeframe to narrow the analysis. For example, you may want to exclude the introduction and process only the keynote, demo, or Q&A.
Step 4: Tell the AI what to find
Generic highlight detection is useful for exploration. Topic direction is better when the clips already have a job.
Reap lets you add Clip Topics so the AI can prioritize specific subjects, people, or talking points. The API also exposes a topics field for the same kind of direction in automated workflows.
Instead of asking for “the best clips,” use directions such as:
|
Campaign goal |
Prompt or Clip Topics direction |
|---|---|
|
Replay trailer |
|
|
Educational series |
|
|
Product campaign |
|
|
Sales enablement |
|
|
Founder content |
|
|
Customer proof |
|
|
LinkedIn clips |
|
|
Short-form hooks |
|
For a deeper explanation of this approach, read Reap's guide to prompt clipping.
Step 5: Choose clip length, captions, and orientation
Choose the output based on where the clips will be published.
Reap supports portrait 9:16, square 1:1, and landscape 16:9 outputs. It also lets you target different clip-length ranges, choose a caption style or brand template, and optionally translate the captions.
A sensible first pass is:
30–60 secondsfor Shorts, Reels, and TikTok60–90 secondsfor complete LinkedIn explanations90 seconds–3 minutesfor product demonstrations, Q&A, or deeper educational clips9:16for mobile-first vertical platforms1:1for square LinkedIn or social-feed assets16:9for replay pages, YouTube, product pages, and sales content
These are editorial starting points, not universal rules. A complete 35-second answer is better than a padded 60-second clip. A valuable two-minute explanation is better than cutting out the context just to hit an arbitrary duration.
Step 6: Generate more candidates than you plan to publish
If you need 10 final clips, generate a larger pool.
Not every technically valid clip will deserve distribution. Some will repeat the same idea. Others may need more context, have a weak opening, or be better suited to an internal audience.
Create enough options to compare, then select the strongest clips based on message, clarity, audience fit, and campaign value.
Step 7: Review every clip in context
AI reduces the time spent searching through the recording. It does not remove editorial responsibility.
For every candidate, check:
- Does the opening immediately communicate why the viewer should care?
- Does the clip make sense without the full webinar?
- Is the speaker represented accurately?
- Does the ending feel complete?
- Are names, numbers, and technical terms captioned correctly?
- Does the crop preserve the speaker, slide, and product interface?
- Is the claim appropriate to publish outside the original context?
- Does this clip serve a different job from the others?
The best webinar campaign is not 10 versions of the same generic takeaway.
Step 8: Finish the edit
Open the strongest clips in Reap's AI video editor.
According to the Reap editor documentation, you can trim unwanted sections, correct transcript words, adjust caption timing and position, change orientation, add text and assets, include B-roll, apply branding, and refine the framing.
For webinar clips, prioritize:
- Removing greetings and slow setup
- Starting close to the strongest sentence
- Correcting product names, acronyms, and speaker names
- Keeping captions away from faces, slides, and interface controls
- Showing the speaker and screen share in a readable layout
- Adding a short headline when the opening needs context
- Applying the same brand template across the campaign
- Ending on a complete thought or clear CTA
Do not over-edit a strong idea. The goal is to make the insight easier to consume, not bury it under effects.
Step 9: Build a distribution calendar
Do not publish all 10 clips on the same day.
Turn the recording into a sequence:
|
Timing |
Content |
|---|---|
|
Day 1 |
Webinar trailer or strongest takeaway |
|
Day 3 |
Educational clip |
|
Day 5 |
Product demonstration |
|
Day 8 |
Speaker opinion or prediction |
|
Day 11 |
Audience Q&A |
|
Day 15 |
Customer pain point or objection answer |
|
Day 18 |
Data point or key statistic |
|
Day 22 |
Customer proof or practical example |
|
Day 26 |
Second educational clip |
|
Day 30 |
Final recap with replay CTA |
One webinar can support a month of distribution without making the feed feel repetitive.
How to adapt webinar clips for each platform
The source moment may be the same. The packaging should change.
LinkedIn is a strong destination for webinar clips because the platform is built around professional insight, category education, product expertise, and executive voices.
Choose moments that teach, challenge an assumption, explain a business problem, or show credible evidence. Give the clip enough context to stand alone and support it with post copy that adds an observation instead of repeating the transcript.
Square 1:1, vertical 9:16, and landscape video can all be uploaded within LinkedIn's supported video requirements. Keep key text, logos, captions, and faces away from the edges so the interface does not cover them.
A practical LinkedIn clip usually needs:
- A clear idea in the opening seconds
- Readable captions
- Professional context
- One useful takeaway
- A question, observation, or link in the post copy
Do not force every LinkedIn clip into a loud TikTok editing style. Clarity and credibility matter more than visual noise.
YouTube Shorts, Instagram Reels, and TikTok
Use portrait 9:16, shorten the setup, and keep each clip focused on one idea.
The hook should appear immediately. If the speaker takes 15 seconds to introduce the answer, trim the setup or add a short headline that frames the problem.
Use readable burned-in captions, keep the active speaker in frame, and make sure slides or screen shares remain understandable on a phone.
Email and webinar follow-up
Use one or two clips, not all 10.
Choose the moment most likely to make a registrant watch the replay or take the next step. A strong Q&A answer, product demonstration, or surprising takeaway often works better than a generic event montage.
Link the clip or thumbnail to the replay page, product page, or relevant resource.
Sales and customer success
Sales clips should answer a buyer question. Customer-success clips should teach a workflow or clarify a feature.
These assets do not need to be viral. They need to be specific, credible, and easy to share at the right moment.
Organize clips by topic—pricing, implementation, use case, objection, feature, or outcome—so the team can find them later.
Why webinar clips often feel boring
Many webinar clips fail because they are treated as timestamps instead of standalone content.
The editor cuts minute 18:10 to 19:02, adds captions, and publishes it. The clip begins halfway through a sentence, refers to a slide the viewer cannot see, and ends before the point is complete.
Technically, it is a clip. Editorially, it has no reason to exist.
Here is how to fix that.
Start with the conclusion
Webinar speakers often build slowly toward the useful sentence.
If the conclusion can work as the opening, start there. Then include only the context needed to support it.
Give the clip one job
A trailer creates curiosity. A product clip demonstrates value. An educational clip teaches. An objection clip reassures. A LinkedIn clip offers a useful point of view.
Do not ask one short video to do all five.
Make screen shares readable
A full webinar screen with three speakers, a slide, browser controls, and chat is too dense for a vertical frame.
Choose a layout that prioritizes the active speaker and the exact visual being discussed. Crop intentionally, zoom into the relevant product area, or use a square or landscape version when the screen itself is essential.
Remove webinar language
Cut phrases such as:
- “Thanks for joining us today.”
- “As we mentioned earlier…”
- “We will cover that later.”
- “Can everyone see my screen?”
- “Before we move on to the next slide…”
They belong in the live event. They slow down the clip.
Preserve meaning
Do not create a stronger hook by changing what the speaker meant.
Keep qualifications, evidence, and necessary context. This is especially important for customer claims, financial results, health topics, legal statements, and product comparisons.
How to automate webinar repurposing
If webinars happen regularly, the workflow should not start from zero each time.
A repeatable system can look like this:
- A finished webinar recording is saved to a folder or video platform.
- An automation sends the source to Reap.
- The clipping request includes saved topics, duration, orientation, captions, and brand settings.
- Reap processes the video and creates candidate clips.
- A team member reviews and approves the outputs.
- Approved clips move into a publishing calendar or asset library.
Teams can build this with no-code tools, the Reap video editing API, or Reap MCP for an agent-driven workflow.
For a no-code setup, Reap is also available on Zapier. A new recording in Google Drive or another connected app can trigger a clipping workflow, while finished Reap projects can move into review, organization, and distribution steps. See the guide to automating webinar clipping with Zapier.
For example, an agent brief could say:
Create LinkedIn-ready clips from this webinar. Focus on practical advice, product value, customer pain points, and complete answers from the Q&A. Add branded captions, use square framing, and prepare the strongest eight clips for review.
Automation should remove repetitive production work. It should not remove approval.
Before building a fully automated pipeline, process two or three webinars manually, decide which clips the team actually approves, refine the prompt and brand template, and then automate the repeatable parts. Reap's complete guide to automating video clipping covers no-code, API, and agent-based approaches in more detail.
How to measure whether webinar clips are working
Views are useful, but they are not the only measure of webinar repurposing.
Track performance based on the clip's job.
|
Goal |
Useful metrics |
|---|---|
|
Awareness |
Reach, views, unique viewers, follower growth |
|
Engagement |
Watch time, completion rate, saves, comments, shares |
|
Replay promotion |
Click-through rate, replay starts, replay watch time |
|
Lead generation |
Registrations, form fills, cost per lead |
|
Product education |
Product-page visits, demo views, feature engagement |
|
Sales enablement |
Clip usage, influenced opportunities, reply rate |
|
Content learning |
Winning topics, hooks, speakers, lengths, and formats |
The final category is easy to overlook.
Every published clip is a test. The results show which customer problems, claims, examples, speakers, and formats earn attention. Use that information to improve the next webinar, not only the next clip.
A webinar repurposing checklist
Before publishing, confirm that you have:
- Defined the campaign goal and audience
- Removed private, irrelevant, or low-quality sections
- Identified distinct clip themes
- Generated more candidates than you need
- Selected clips with different jobs
- Trimmed slow introductions
- Preserved the speaker's original meaning
- Corrected captions and product terminology
- Checked framing on mobile
- Applied consistent brand styling
- Created channel-specific versions where necessary
- Added an appropriate CTA
- Scheduled distribution over several weeks
- Chosen metrics for each asset
If those steps are complete, the webinar is no longer one recording.
It is a campaign.
Final thoughts
The most valuable part of a webinar is not always the live hour.
It is the library of explanations, demonstrations, opinions, questions, and proof that the hour creates.
The old workflow publishes the replay and moves on. The better workflow extracts every useful moment, gives each clip a purpose, adapts it for the destination, and distributes the campaign over time.
Reap makes that process faster. Upload the webinar or paste a supported link, guide the AI toward the topics and assets you need, generate clips, add captions, reframe for each platform, refine the edit, and publish the strongest results.
Start turning webinars into short-form campaigns with Reap's AI video clipping tool.