You have a useful answer from a webinar, a product demonstration worth sharing, or an interview that explains a problem your customers recognize. The next step is getting that moment into a LinkedIn video that looks right in the feed.
That is where a few different questions get bundled together. What is the right LinkedIn video size? Should the clip be square or vertical? How long can it be? And will changing the format cut off the person or screen you need viewers to see?
The technical requirements tell you what LinkedIn accepts. Your footage determines which format makes the message easiest to follow.
This guide covers both: the current upload specifications, practical choices for different recordings, and a Reap workflow for turning existing content into LinkedIn clips. Platform requirements were checked on October 15, 2026.
Quick Answer: What Is the Best LinkedIn Video Size?
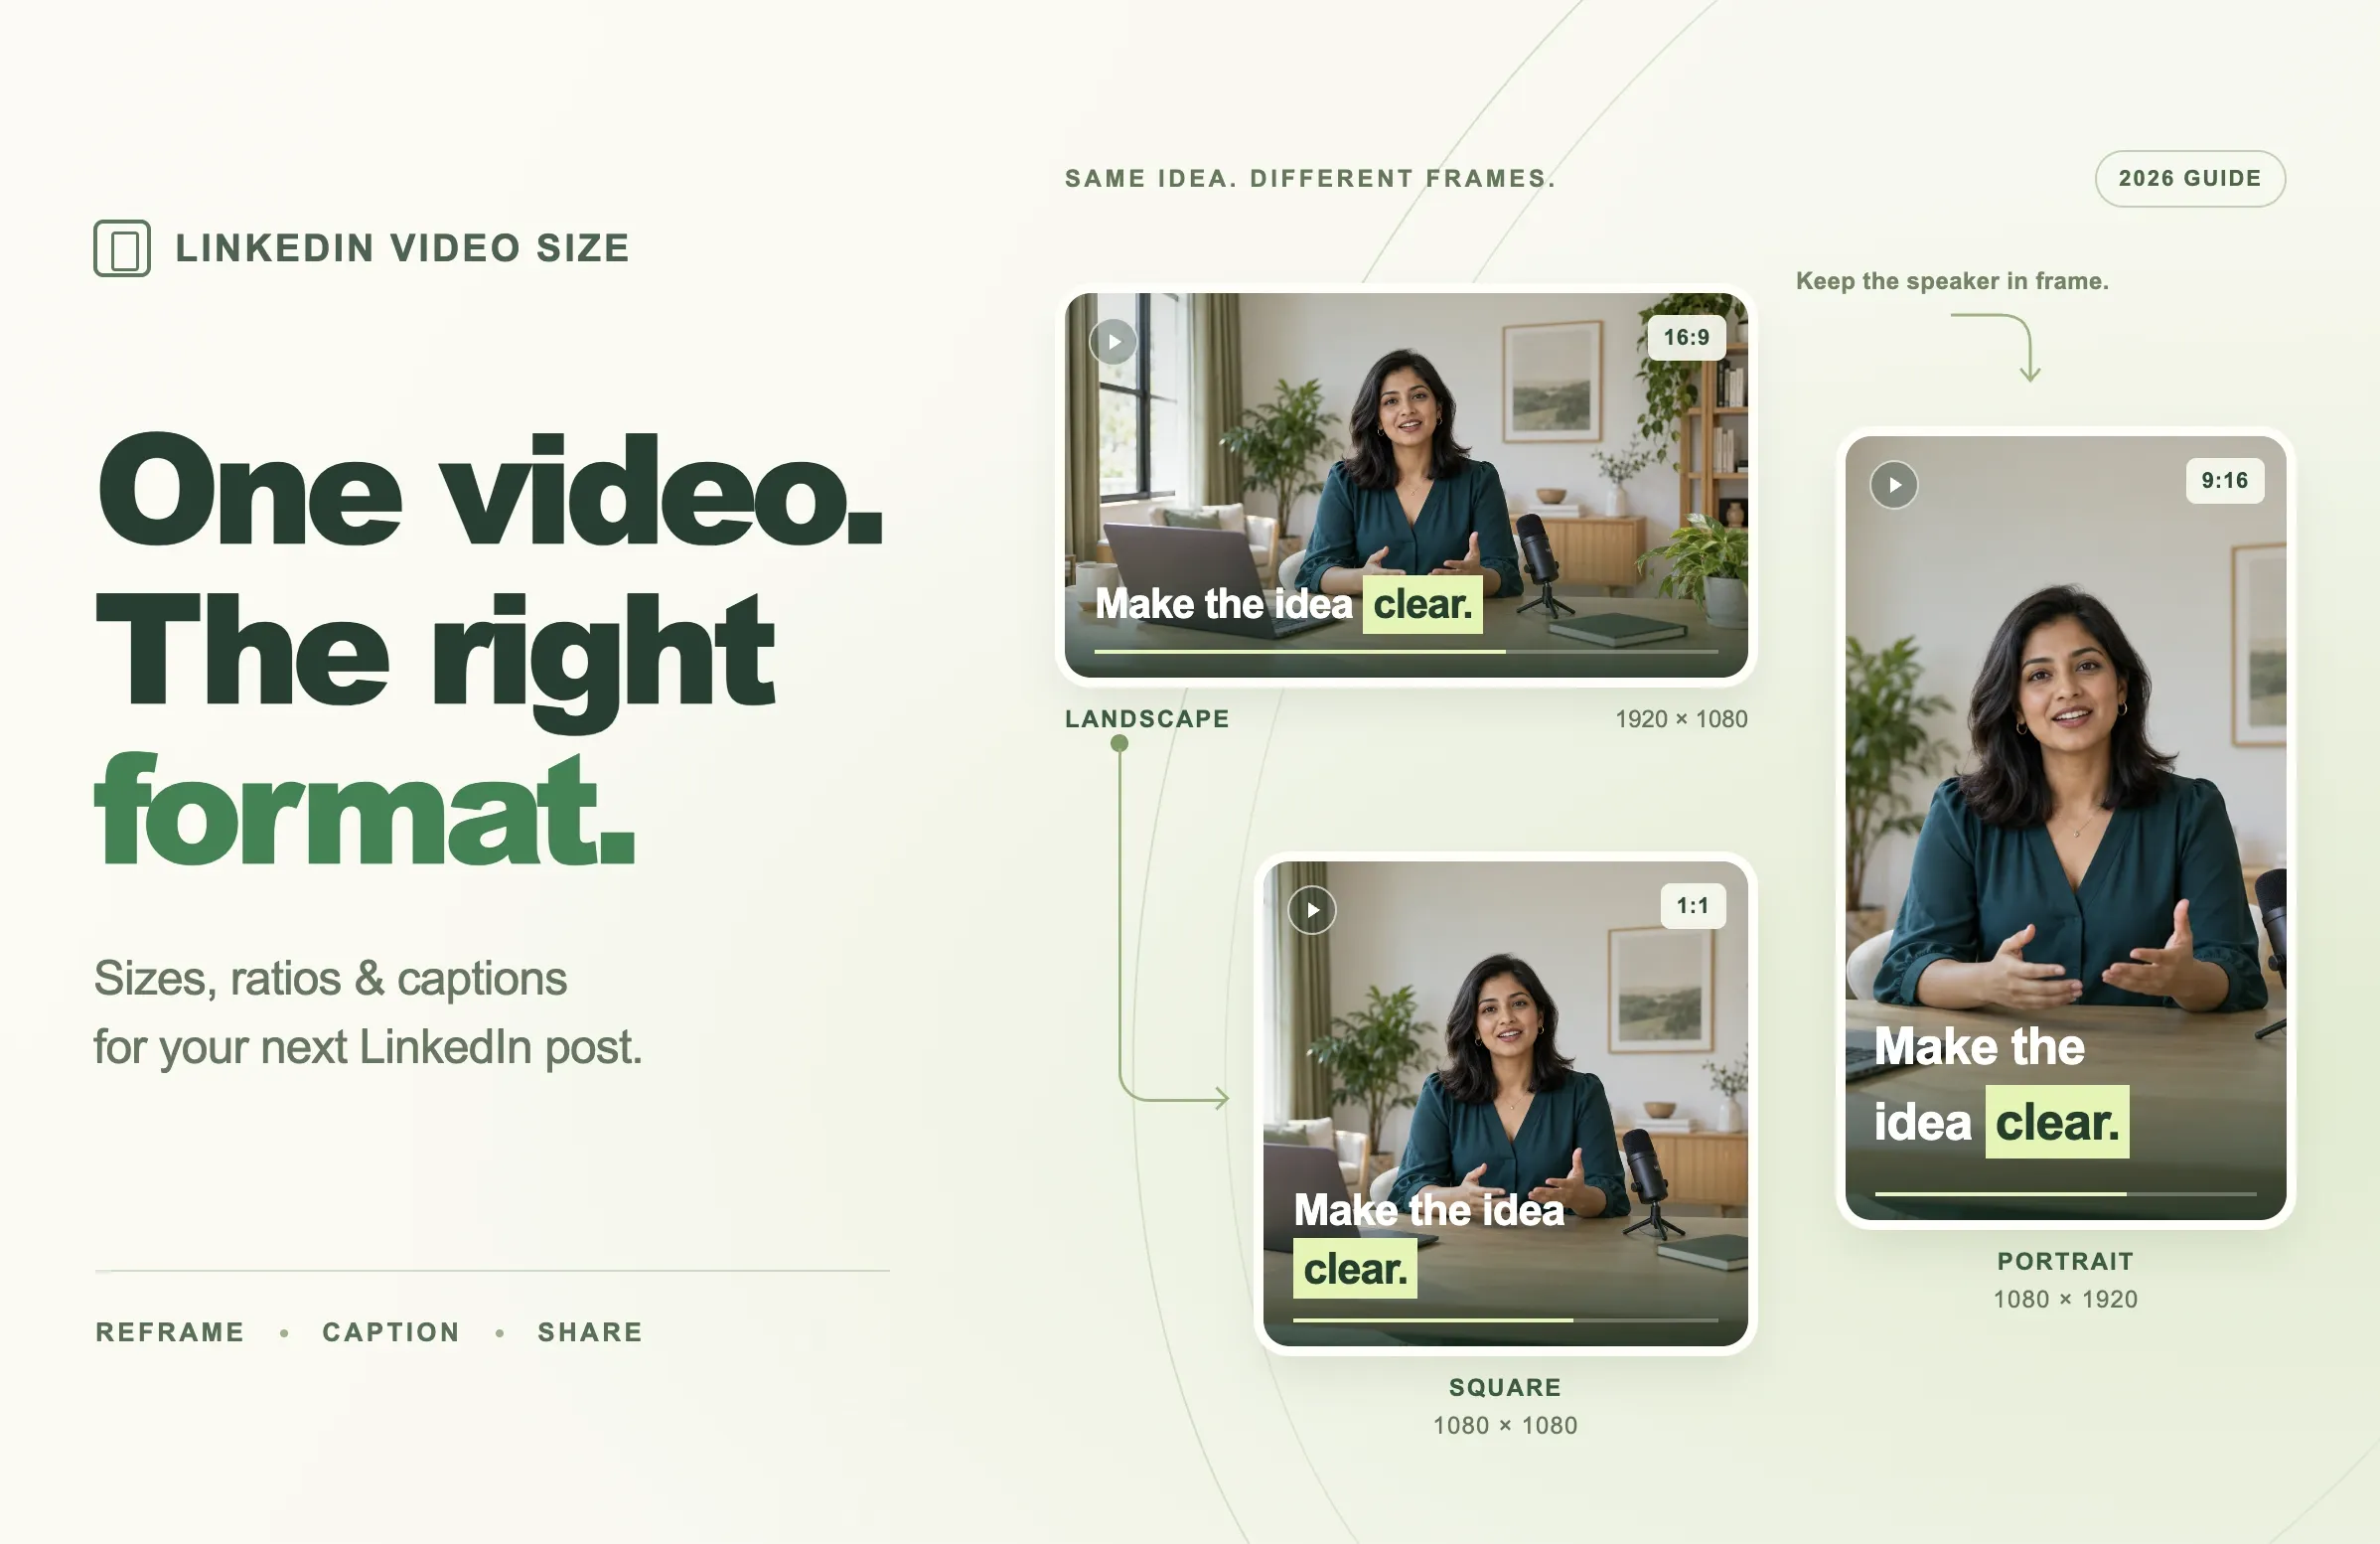
Use 1080 × 1080 for a square clip, 1920 × 1080 for landscape footage, or 1080 × 1920 for a vertical video. These are practical export sizes, not a requirement to use one universal format. Choose the shape that keeps your subject and supporting details clear.
For ordinary posts, LinkedIn currently accepts files up to 5 GB and videos up to 15 minutes. Video ads have separate limits. Check the appropriate destination before exporting, using LinkedIn’s video-sharing requirements.
If you are repurposing a longer recording, select the useful moment first. Then choose the crop, review captions, and check the finished video at phone size before publishing.
LinkedIn Video Specs for Ordinary Posts
LinkedIn’s video file requirements provide these limits for ordinary video uploads:
|
Setting |
LinkedIn requirement |
|---|---|
|
File size |
75 KB–5 GB |
|
Maximum duration |
15 minutes |
|
Minimum duration |
3 seconds on desktop; 2 seconds on mobile |
|
Resolution range |
Listed as 256 × 144 to 4096 × 2304 pixels |
|
Aspect ratio |
1:2.4–2.4:1 |
|
Frame rate |
10–60 fps |
|
Bit rate |
192 Kbps–30 Mbps |
These are acceptance limits. They do not tell you how much of a particular interview to include or whether a detailed spreadsheet will be readable in a small preview.
Use a familiar export shape and inspect the result. A file can meet every technical requirement while still having tiny text, an awkward crop, or an opening that assumes the viewer watched the full recording.
Dimensions, aspect ratio, and file size mean different things
Dimensions describe the number of pixels across and down the image. A 1920 × 1080 video is wider than it is tall.
Aspect ratio describes that relationship without specifying the pixel count. Both 1920 × 1080 and 1280 × 720 are 16:9.
File size is the amount of storage the video uses. Duration, compression, and encoding settings affect it. A short, high-resolution clip can be smaller than a long recording with lower resolution.
This distinction helps when troubleshooting. If your file is too large, reducing the duration or adjusting compression may help. If the speaker is cut off, you need to fix the composition. A smaller file will not restore a missing face.
Which LinkedIn Video Dimensions Should You Choose?
Start with what viewers need to understand, then select the shape. These are useful production options for ordinary posts:
|
Format |
Example dimensions |
Useful starting point for |
What to check |
|---|---|---|---|
|
Square, 1:1 |
1080 × 1080 |
An expert answer, product explanation, or centered interview shot |
Enough room for gestures and captions |
|
Landscape, 16:9 |
1920 × 1080 |
Screen demonstrations, presentations, or a wide conversation |
Whether small interface details remain readable |
|
Portrait, 9:16 |
1080 × 1920 |
A speaker-focused clip with limited supporting visuals |
Speaker changes, movement, and text near the edges |
|
Portrait, 4:5 |
1080 × 1350 |
A taller composition when your editor offers this canvas |
Whether the extra height improves the actual composition |
These formats fall within LinkedIn’s published aspect-ratio range. The dimensions are examples you can work toward, not a promise that every editor offers all four presets.
Square video for a focused explanation
A square crop can be a practical starting point when a person is explaining one idea and the surrounding scene is not essential. It can also leave room for a small product or prop beside the speaker.
For example, a founder explaining why customers abandon onboarding might work well in a square composition. The viewer needs the explanation and perhaps a short opening title. They do not necessarily need the entire meeting-room backdrop.
Watch for hands entering the frame. A crop that looks comfortable while the speaker is still may become cramped when they begin demonstrating something.
Landscape video for demonstrations and shared context
Keep a landscape layout when the width carries information. A comparison between two charts, a software workflow, or two people discussing a physical product may depend on details spread across the original image.
If the screen contains more than viewers can read, shorten the excerpt to one task and emphasize the relevant area. Showing a smaller part of an interface clearly can be more useful than squeezing an entire desktop into the post.
Vertical video for a speaker-led moment
A vertical frame can work well for an answer, anecdote, or explanation centered on one person. Start with the original recording so you have room to reposition the crop.
Check each speaker change. When an interviewer asks a necessary question, keep enough of that exchange for the answer to make sense. The visual treatment should support the conversation rather than distract from it.
Use 4:5 when it suits your composition
A 4:5 frame provides more height than square while being less narrow than 9:16. It is another available production choice, provided your editing workflow supports it.
The Reap workflow below uses its documented square, landscape, and portrait orientations. A platform accepting a format does not mean that format is available as a preset in every tool.
LinkedIn Video Posts and Video Ads Have Different Limits
An ordinary LinkedIn video post and a paid video ad are different publishing destinations. Avoid carrying the limits from one into the other.
LinkedIn’s video-ad specifications currently list a maximum file size of 500 MB and a general duration range of 3 seconds to 30 minutes. They specify MP4, with additional encoding and placement requirements. Some ad placements have shorter limits.
If a clip will be used in a campaign, check the requirements for that placement before handing over the export. Include the intended destination in the filename or production brief so a teammate does not mistake an organic-post version for an approved ad asset.
This article’s Reap walkthrough prepares ordinary LinkedIn content. Campaign setup and ad delivery remain separate tasks.
How to Turn Existing Recordings Into LinkedIn Clips With Reap
The most useful source material often already exists: a webinar answer, a customer interview, a product walkthrough, or a conversation with someone on your team.
Choose a moment that addresses a specific professional problem. “How we simplified our approval process” gives the viewer a clearer reason to watch than a general introduction to the company.
For a larger campaign, our webinar repurposing guide explains how to plan multiple assets from one session. The workflow here focuses on preparing an individual LinkedIn clip well.
1. Add the source and choose the topic
Open Reap’s clipping workflow, upload a recording or add a supported link, and select Get Clips to reach setup. Choose the source language, caption style, orientation, and target clip length. Processing Time Frame narrows the part of the recording to analyze, while Clip Topics guides subject selection. These controls are explained in Reap’s clipping guide.
For an onboarding webinar, topic terms might be “customer handoffs, onboarding delays, approval process.” Use subjects actually discussed in the recording. A precise theme makes it easier to judge whether each generated candidate belongs in your LinkedIn plan.
Review the settings, then select Get Clips again to begin generation.
2. Select an excerpt with a complete point
Watch the candidates with a new viewer in mind. Can someone understand the problem without seeing the slides from ten minutes earlier? Does the clip include the reason behind the advice?
A strong candidate usually gives the viewer enough context, a clear explanation, and a useful ending. It might explain one mistake, demonstrate one action, or answer one recurring question.
Keep necessary qualifications. If a speaker says a process worked for a small pilot team, preserve that detail when it affects how someone should interpret the advice.
3. Refine the beginning and ending
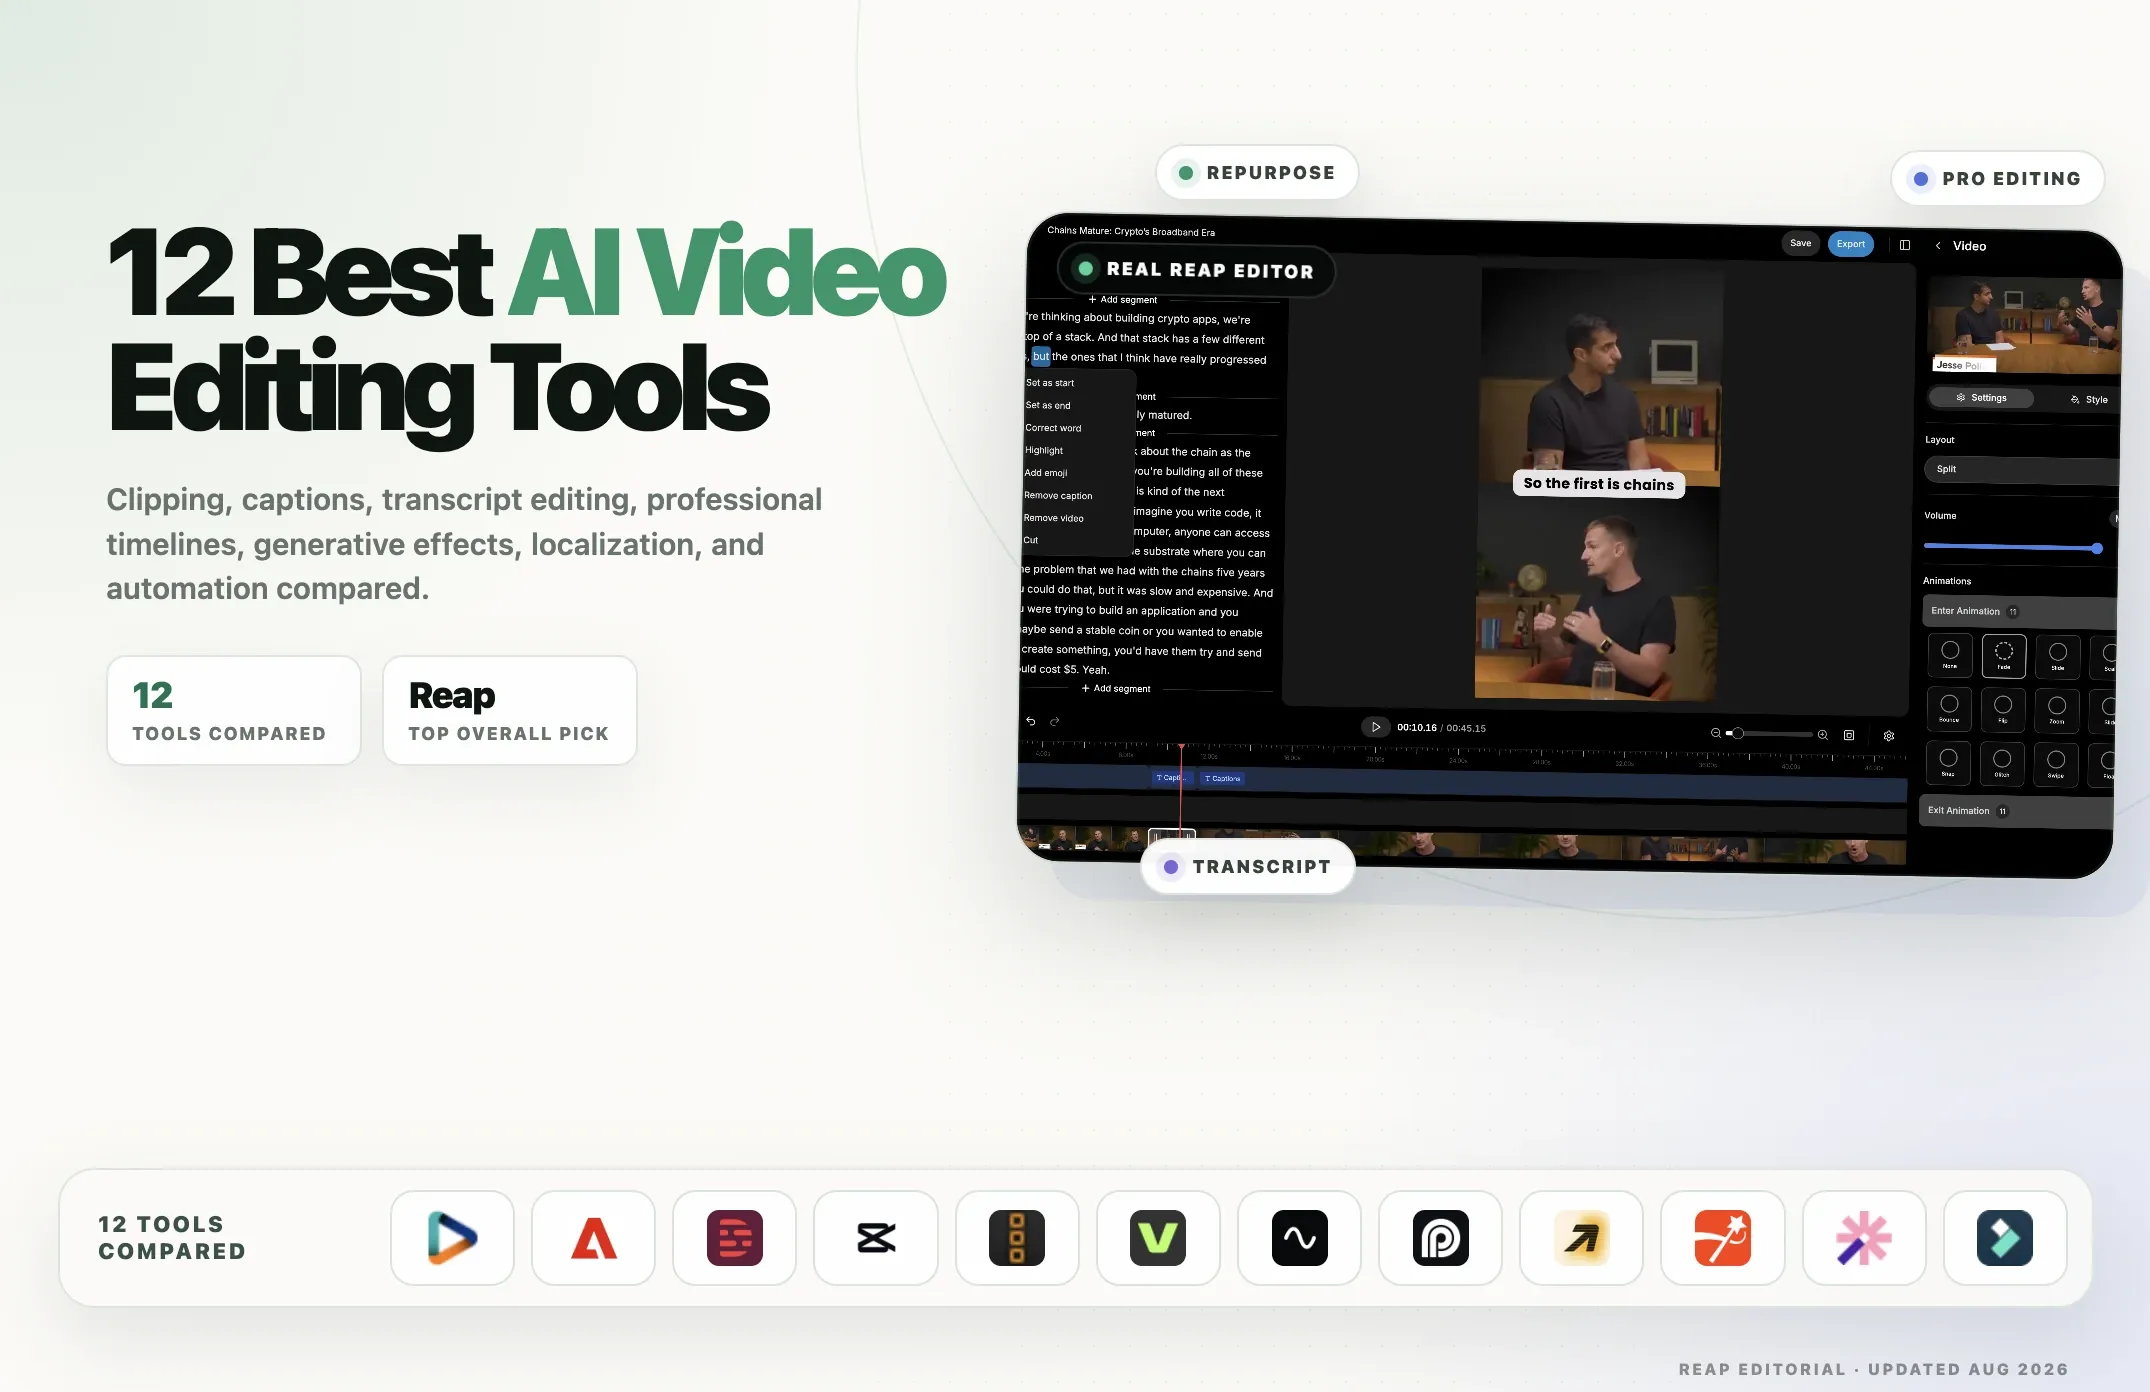
Open the selected clip in the editor. Reap’s transcript-editing tools include setting a start or end point, correcting a word, and removing unwanted video sections.
Begin where the topic becomes understandable. If the answer starts with “That is why we changed it,” include the sentence that explains what changed, or choose a later point where the speaker names the issue directly.
Listen through the ending before trimming. A concise clip should still complete the thought. Cutting immediately after a striking claim can remove the explanation that made it worth sharing.
4. Choose and review the framing
Reap’s clipping setup documents Square (1:1), Landscape (16:9), and Portrait (9:16) orientations. Choose according to the material: a square expert answer, a landscape demonstration, or a portrait speaker clip.
For an existing short landscape video, the separate Auto Reframing workflow supports square and portrait output. Preview the result and manually adjust the framing when a face, gesture, or important detail needs more room.
The standalone reframing workflow currently accepts videos up to 10 minutes and 2 GB. Longer source recordings belong in the clipping workflow first. Reap’s processing limits and LinkedIn’s final-upload limits serve different stages of production.
5. Make the captions readable
Use a style that suits the speaker and the message. Reap’s caption tools support generated captions, style choices, and review before export.
Check names, product terms, numbers, and acronyms against the audio. These details often carry the most meaning in a business clip. A mistaken product name or percentage can change the message more than a minor punctuation error.
Read the captions while watching at phone size. Give each phrase enough time to be understood, and keep the text clear of the demonstration or the speaker’s face. If the clip includes an opening headline, make sure it does not compete with the spoken captions.
6. Export, review, and prepare the post
Watch the finished file after export. Check the first frame, the entire crop, caption timing, and the final sentence. Listen for abrupt audio cuts or background music that obscures speech.
Write post copy that explains why this moment matters to your intended viewer. For example: “The handoff between sales and onboarding was where context kept disappearing. Here is the question we started asking before every transfer.”
Reap’s supported-platform guide includes LinkedIn. Its publishing workflow lets you select content, add post copy, choose a connected destination, and schedule or publish. Check the destination account and preview before completing the post.
Example: Three Useful LinkedIn Posts From One Webinar
Imagine a 40-minute webinar about improving customer onboarding. The recording includes a speaker, slides, and a short product demonstration.
The entire session does not need to become one LinkedIn upload. You could select three distinct excerpts and choose the presentation of each separately:
|
Excerpt |
Editorial purpose |
Starting format |
Review priority |
|---|---|---|---|
|
A speaker explains a common handoff mistake |
Help viewers recognize a familiar problem |
Square |
Clear opening and readable captions |
|
A product demonstration shows one corrective step |
Make the advice concrete |
Landscape |
Legible interface details and cursor movement |
|
An audience question prompts a practical answer |
Address a specific concern |
Portrait |
Enough question context and comfortable speaker framing |
This is a planning example, not a promise of a fixed number of clips from every recording. The source determines how many useful, distinct moments are available.
Each post should make sense by itself. Give it a title and introduction that reflect its own point, then connect the posts through their shared topic rather than repeating the same explanation three times.
Captions, Safe Zones, and the Final Frame Check
Formatting is more than selecting a canvas. A clip also has to remain understandable when viewed small, with interface controls around it, or without the viewer relying on audio.
Leave comfortable space around essential text and logos. Review the bottom caption line, any opening title, and the edges of a screen recording. Our short-form safe-zone guide provides a broader review process for adapting clips across platforms.
When publishing directly on LinkedIn, its video-sharing workflow offers caption options. If your exported file already contains visible captions, preview how any additional caption layer appears so it does not cover the text you prepared.
Use a thumbnail or opening frame that matches the actual content. A clear frame with the speaker or relevant demonstration is more useful than a title that promises something the clip never explains.
Common LinkedIn Video Formatting Problems
The video uploads but looks blurry
Compare the original recording, the exported file, and the uploaded version. If the export is already soft, revisit the source and the crop before changing publishing settings.
Avoid building the next version from a previously compressed social download when the original recording is available. Enlarging a small crop does not recover detail that was never captured.
If the local export looks good, let LinkedIn finish processing and check the post again before producing another file.
The speaker or demonstration is cut off
Changing the aspect ratio can remove a large portion of the original image. Preview movement, transitions, and speaker changes throughout the clip.
If a narrow crop loses necessary information, reposition it, change the layout, or keep a wider composition. A vertical version is only useful when viewers can still see what the speaker is explaining.
LinkedIn rejects the file
Compare the file with the requirements for the exact destination. Check duration, file size, shape, and encoding rather than assuming the problem is the resolution.
LinkedIn’s video-sharing troubleshooting guide lists supported and unsupported media formats. MP4 is a practical starting choice, but the extension alone does not describe every encoding setting inside the file. If necessary, make a fresh export from your editor and try again.
The file works, but the clip feels disconnected
Return to the edit. The first sentence may depend on a missing question, the viewer may need to see the chart, or the excerpt may end before the answer becomes useful.
Fix the missing context before adding more text or effects. Sometimes one additional sentence makes the entire clip easier to understand.
A Pre-Publish Checklist for LinkedIn Video
Before scheduling the post, confirm that:
- The opening identifies a topic the intended viewer can recognize.
- The clip delivers one complete explanation, example, or answer.
- The chosen aspect ratio preserves the important visual information.
- Captions match names, numbers, and terminology in the audio.
- Text remains readable at phone size and clear of the frame edges.
- The exported file meets the requirements for its publishing destination.
- Post copy and any thumbnail accurately describe the clip.
- The correct account, date, and time are selected.
Keep this checklist with the source recording and final export. A repeatable review makes it easier to prepare the next LinkedIn video without rebuilding the process.
Final Thoughts
The right LinkedIn video size makes a useful recording easier to watch. Start with the point you want to share, choose a composition that preserves it, and check the captions and final export before publishing.
Your existing webinars, interviews, and demonstrations can support more than one post when they contain distinct ideas worth sharing. Each excerpt deserves its own clear beginning, readable presentation, and useful ending.
Prepare your next LinkedIn clip with Reap to find moments in your recordings, refine their framing and captions, and turn them into content ready for your audience.