An audio recording cannot fill a video feed by itself. It needs a visual layer.
That visual layer can be as simple as a still image or as developed as a captioned audiogram with an animated waveform, brand styling, B-roll and platform-specific framing. The right choice depends on what the audio contains, where the video will be published and how much attention the visuals need to hold.
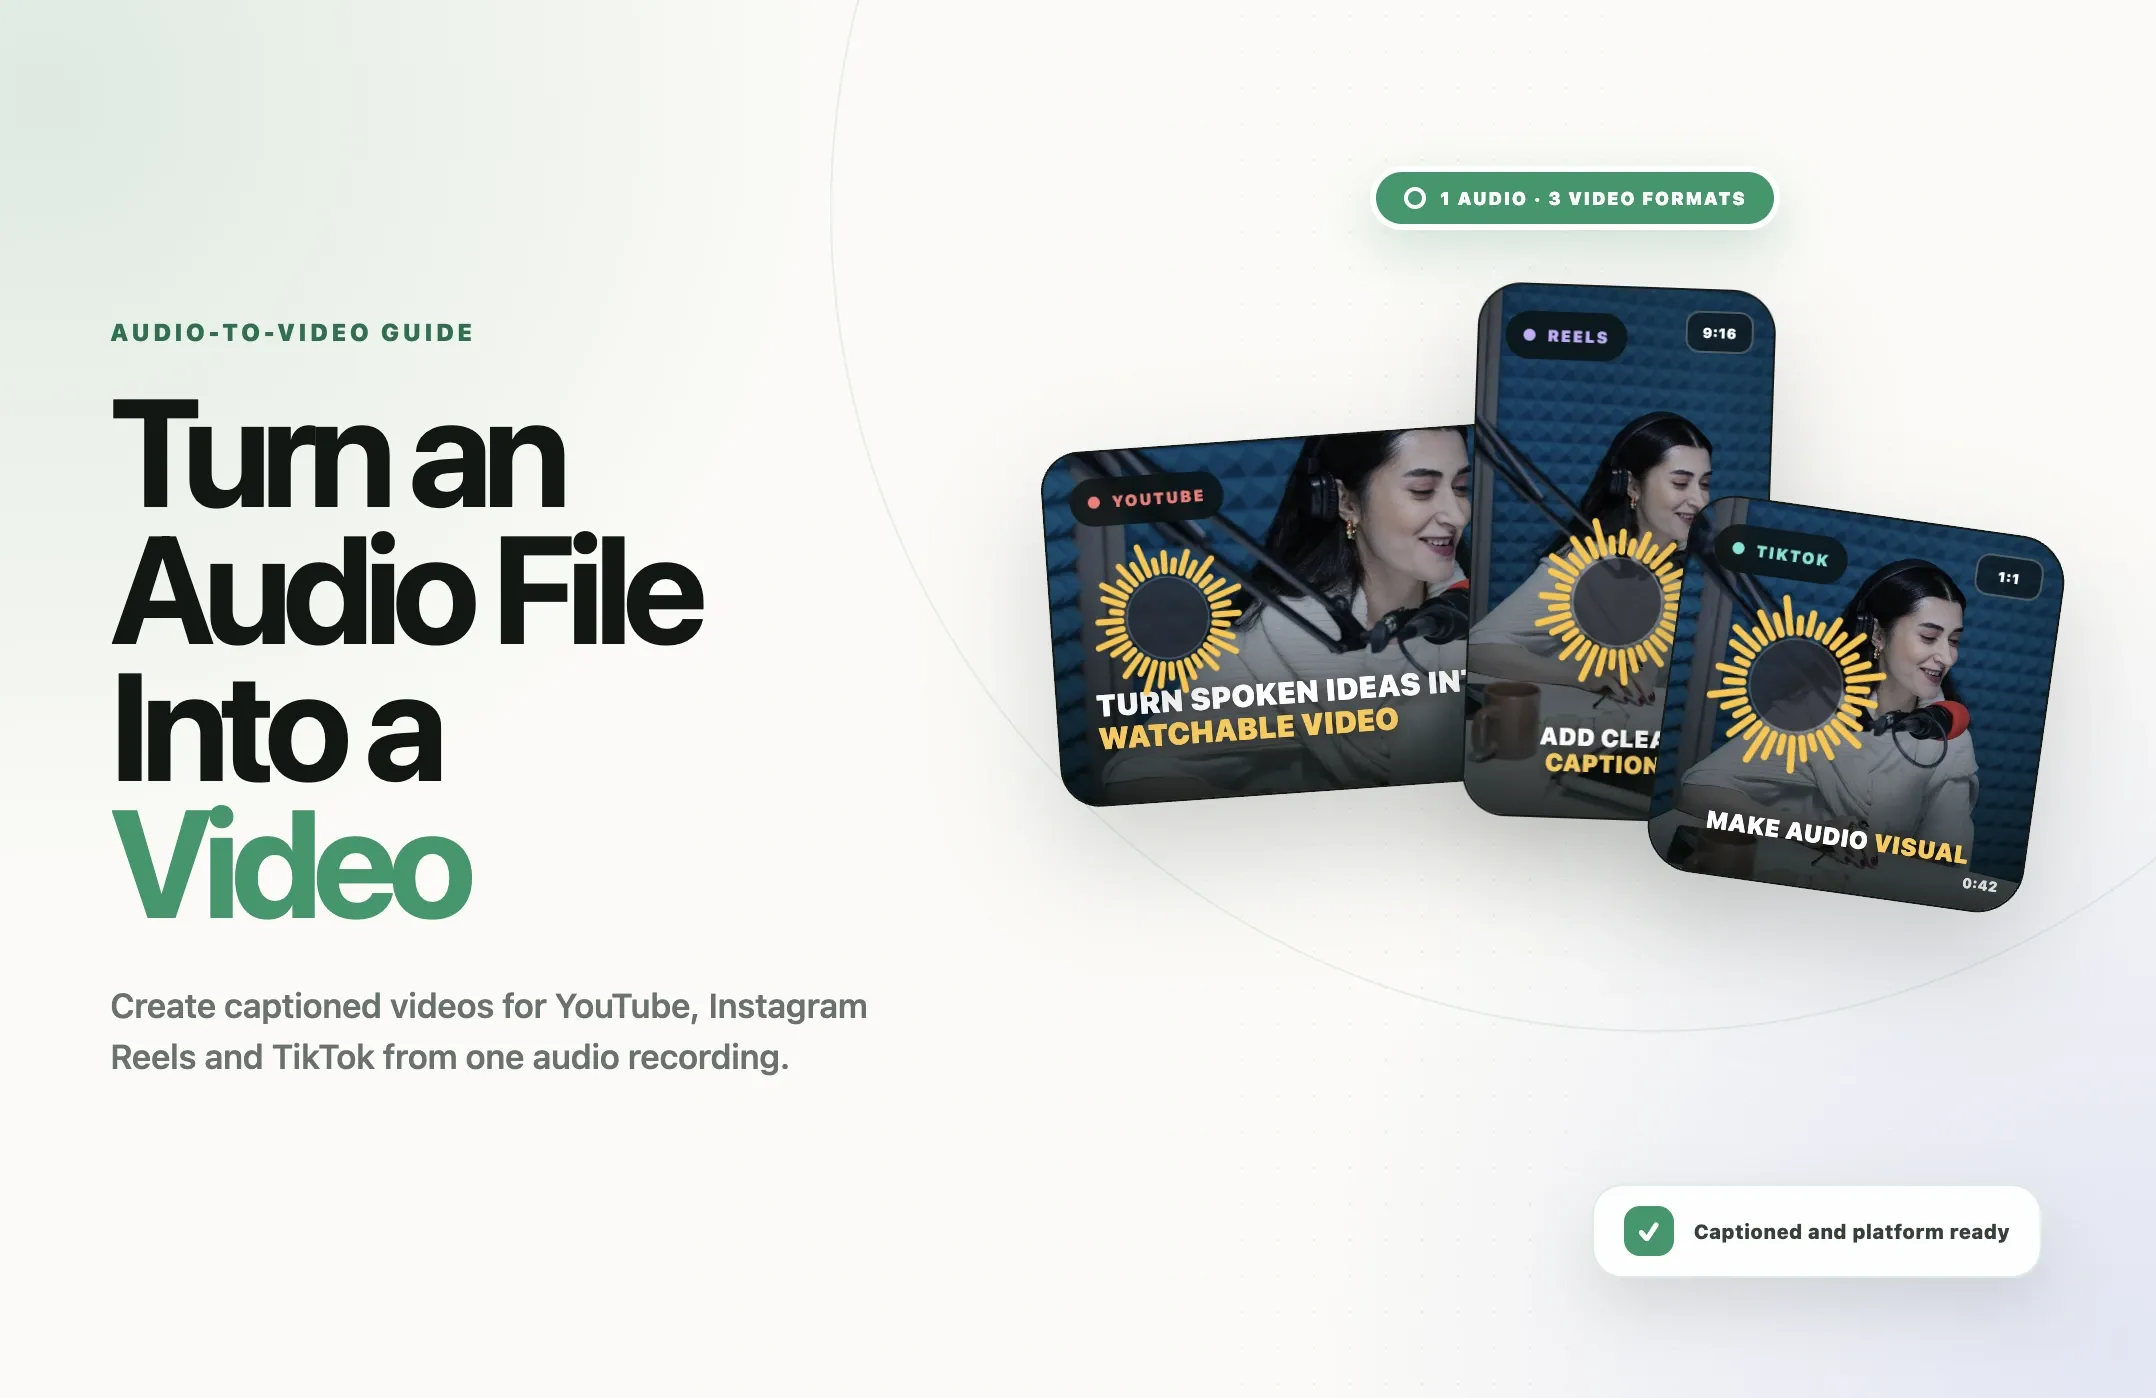
This guide explains four practical ways to turn an MP3, M4A or WAV file into a video. It also covers the correct aspect ratio for YouTube, Instagram Reels and TikTok, how to create the video in Reap and what to check before publishing.
Quick answer: Upload the audio to an audio-to-video editor, add a visual background, choose an aspect ratio, generate captions, review the transcript and export an MP4. In Reap, you can upload MP3, M4A or WAV, choose an audiogram template, add a logo, text or background, select portrait, landscape or square, and generate a captioned video ready for further editing.
Turn your audio into a social-ready video
Create an animated audiogram with captions, a waveform, branding and the right format for YouTube, Reels or TikTok.
Why does an audio file need to be converted into video?
Audio platforms understand files such as MP3, M4A and WAV. Video platforms expect a video container with something to display on screen.
YouTube states in its supported file format documentation that ordinary MP3, WAV and PCM files cannot be uploaded to create a YouTube video. YouTube recommends converting the audio into a video by adding an image.
The same practical limitation applies when you want to promote audio in visually driven feeds. Reels and TikTok are designed around video, so a podcast clip, voice note, interview excerpt, music preview or narrated lesson needs a visible composition.
Converting the audio into video can help you:
- publish a podcast or voice recording on YouTube,
- turn a strong quote into a Reel or TikTok,
- add readable captions to spoken content,
- show a waveform so the frame feels active,
- add a guest photo, episode title or call to action,
- adapt the same audio for several aspect ratios, and
- reuse audio-first content on video discovery platforms.
Four ways to turn audio into video
|
Method |
Best for |
Visual elements |
Main limitation |
|---|---|---|---|
|
Static image video |
Full podcast episodes, music or simple YouTube uploads |
One cover image with the audio |
Very little visual movement |
|
Animated audiogram |
Podcast promotion, interviews and branded audio clips |
Waveform, cover art, logo and title |
The waveform alone may not hold attention for a long video |
|
Captioned audio video |
Reels, TikTok, Shorts, education and thought leadership |
Captions, waveform, speaker image and brand styling |
Automatic captions require human review |
|
Visual story with B-roll |
Promos, explainers, narration and high-retention social posts |
Photos, footage, screenshots, text, captions and transitions |
Needs more editorial work and visual sourcing |
Method 1: Add a static image to the audio
The fastest method is to place the audio under one still image and export both as a video file.
The image might be:
- podcast cover art,
- an album or track cover,
- a photograph of the speaker,
- a title card,
- a branded graphic, or
- a slide explaining the topic.
Basic static-image workflow
- Create a project in a video editor.
- Add the image to the visual track.
- Extend the image until it covers the complete audio duration.
- Add the audio file underneath it.
- Choose the canvas size for the destination platform.
- Export the result as an MP4.
This approach is dependable for a long YouTube upload when the audience is primarily there to listen. It is less effective for fast social feeds because nothing changes visually. If you use one image, add at least a clear title, speaker or episode name and a reason to keep listening.
Method 2: Create an animated audiogram
An audiogram turns audio into a video by combining it with an animated representation of the sound. The animation might appear as a waveform, bars, a circle or another visualizer that responds as the audio plays.
A useful audiogram usually contains:
- an animated waveform,
- a speaker, guest or show image,
- the episode or clip title,
- a logo or brand mark,
- a consistent background, and
- captions when the audio contains speech.
Audiograms work well for podcast excerpts, interviews, customer quotes, narrated lessons and voice-led social content. The motion makes it immediately clear that the post contains audio, while the surrounding design explains what the viewer is hearing.
When an audiogram is the right choice
- You have strong audio but no matching camera footage.
- You want to promote a podcast guest or episode.
- The words matter more than the setting.
- You need a repeatable branded format.
- You want to publish the same source across several video platforms.
The waveform should support the message, not become the message. Give the viewer a clear topic, readable text and enough visual context to understand why the audio matters.
Method 3: Turn the audio into a captioned social video
Captions make an audio-first video understandable when the viewer cannot or does not want to listen immediately.
For a spoken clip, the text can become the main visual rhythm. Short caption groups, deliberate word emphasis and clean timing help the viewer follow the argument. A portrait composition can combine the captions with a speaker image, episode art and a smaller waveform.
Caption design principles
- Show short phrases instead of full paragraphs.
- Use a clear font with strong contrast.
- Keep the text away from platform interface controls.
- Highlight only the words that deserve emphasis.
- Do not cover faces, logos or important images.
- Review names, numbers, acronyms and technical terms.
- Watch the entire export with sound on and sound off.
If the audio will also become a YouTube Short, see the guide to adding captions to YouTube Shorts for additional publishing and caption options.
Method 4: Build a visual story with B-roll
B-roll can turn a voice recording into a more complete visual story. Instead of showing one image throughout, the video changes as the speaker introduces new ideas.
Useful visual sources include:
- product footage,
- screen recordings,
- charts and diagrams,
- photographs,
- licensed stock footage,
- event or location footage, and
- on-screen examples mentioned in the audio.
B-roll is strongest when it explains or proves something. Avoid changing visuals simply because a few seconds have passed. Match each visual to a phrase, example, object, action or outcome in the narration.
A transcript makes this workflow easier because it shows where each subject begins and ends. Reap can generate and correct captions first, then let you add visual assets and B-roll inside the editor.
How to turn an audio file into a video with Reap
Reap provides a dedicated audiogram workflow for turning audio into a shareable animated video.
According to the current Reap audiogram documentation, the workflow supports MP3, M4A and WAV files. Audio uploads can run from three seconds to 15 minutes, with a maximum file size of 1 GB.
Step 1: Upload the audio
Choose the cleanest available source file. Repeated compression can reduce speech clarity and make automatic captions less accurate.
Before uploading:
- trim unrelated silence,
- check that voices are loud and clear,
- reduce distracting background noise when possible, and
- confirm that you have permission to publish the recording.
Step 2: Choose a template or brand template
Select a built-in audiogram design or use a saved brand template. The template establishes the visual hierarchy, including the waveform, captions, image area and background.
Choose a design that leaves enough room for the words. A visually complicated background can make captions harder to read, especially on a phone.
Step 3: Add branding and visual elements
You can add a logo, text and background image before generation.
Useful text elements include:
- the clip headline,
- the speaker or guest name,
- the podcast or series name,
- the episode number, and
- a short call to action.
Do not place every possible detail on the screen. The headline and captions should remain the clearest elements.
Step 4: Select the language and translation
Choose the primary language spoken in the audio. This setting guides the transcript and captions.
If the final video needs another language, choose a translation target. Leave translation set to None when the output should stay in the original language.
Step 5: Choose Native or Roman script
Native script displays the selected language in its original writing system. Roman script represents supported speech using Latin characters.
Choose the script based on how the intended audience reads the language, not only how the speaker pronounces it.
Step 6: Choose the orientation
Design for the publishing destination before generating the audiogram:
|
Orientation |
Dimensions |
Best use |
|---|---|---|
|
Portrait |
9:16, commonly 1080 × 1920 |
YouTube Shorts, Instagram Reels, TikTok and full-screen mobile video |
|
Landscape |
16:9, commonly 1920 × 1080 |
Standard YouTube videos, websites and horizontal players |
|
Square |
1:1, commonly 1080 × 1080 |
Instagram feed, Facebook feed, LinkedIn and reusable social posts |
Instagram accepts Reel aspect ratios between 1.91:1 and 9:16, with at least 30 FPS and 720-pixel resolution, according to the Instagram Reel size documentation. A full-screen 9:16 composition remains the practical choice for an immersive Reel.
TikTok’s business guidance recommends designing for the full-screen 9:16 format. For a YouTube Short, YouTube categorizes eligible square or vertical videos up to three minutes as Shorts. A standard YouTube upload is usually better served by a landscape 16:9 composition.
Step 7: Select the export resolution
Reap offers 720p, 1080p, 2K and 4K options in the audiogram workflow.
For most social publishing, 1080p provides a practical balance of quality and file size. Exporting above the quality of the source image does not create new visual detail, so begin with clear, high-resolution artwork.
Step 8: Generate the audiogram
Generate the project after the template, branding, language, script, orientation and resolution are ready.
Reap processes the audio and produces the animated video. Generation should be treated as the first complete draft, not the final approval step.
Step 9: Review and edit the result
After generation, you can refine the audiogram inside the editor. Reap supports changes to the audiogram position, text, logo, background, captions, assets and B-roll.
You can also correct transcript words, highlight important terms, add selected emojis, remove captions and cut unwanted audio or video sections.
How to choose the right audio-to-video style
|
Your goal |
Recommended format |
What to include |
|---|---|---|
|
Publish a full podcast on YouTube |
16:9 static video or lightly animated audiogram |
Cover art, episode title, chapter information and subtle waveform |
|
Promote one podcast insight |
9:16 captioned audiogram |
Strong headline, guest image, waveform, captions and show branding |
|
Share a customer quote |
1:1 or 9:16 branded quote video |
Customer name when permitted, company, result and accurate captions |
|
Publish a narrated lesson |
9:16 or 16:9 visual story |
Captions, diagrams, examples, screenshots and clear sections |
|
Share a music preview |
9:16 visualizer or short audiogram |
Cover art, artist name, track title and licensed visual assets |
How long should an audio video be?
The correct length follows the publishing job.
- Full YouTube episode: use the complete recording when the viewer expects a long listening experience.
- Social promo: select one complete idea, question, story or payoff rather than an arbitrary slice.
- YouTube Short: keep the video within YouTube’s current Shorts eligibility requirements. Square or vertical Shorts can run up to three minutes.
- Reel or TikTok: make the clip only as long as needed to deliver one understandable point.
A 20-second quote may be stronger than a 60-second excerpt if it reaches the point immediately. A complicated explanation may need more time. Do not cut away the context required to understand the speaker, but remove introductions and repetition that do not help the clip.
How to make an audio-first video more engaging
Start with the strongest sentence
Do not make the viewer wait through greetings, episode introductions or setup that only makes sense in the full recording. Begin with the question, claim, conflict or useful outcome.
Write a visual headline
The headline should explain why the audio is worth hearing. It can identify the problem, promise a useful answer or frame the speaker’s point.
Weak: “Podcast episode 47”
Stronger: “The hiring mistake that slows every startup”
Use captions as part of the design
Captions should be readable without competing with the waveform, cover art or background. Keep the words large enough for a phone and preserve space around each caption group.
Change visuals when the idea changes
If you add B-roll, align each asset with a specific statement. A product screenshot should appear when the speaker discusses the product. A chart should appear when the number is explained.
Create platform-specific versions
Do not place a square audiogram inside a portrait canvas with large unused areas. Recompose the elements for each orientation. Reap’s orientation options make it possible to generate layouts intended for different destinations.
Make the clip searchable
Use a clear topic in the title, spoken opening, captions and publishing copy. The short-form video SEO guide explains how topic clarity, accurate captions and matching metadata can support discovery across Shorts, Reels and TikTok.
Common audio-to-video mistakes
Using a blank or black screen
A black frame technically creates a video file, but it gives the viewer no reason to keep looking. Add at least a title, artwork and speaker or show identity.
Publishing an unreviewed transcript
Automatic captions can mishear names, numbers, accents and specialized terms. Review the text while listening to the original audio.
Choosing the wrong aspect ratio
A landscape design becomes difficult to read when squeezed into a portrait feed. Choose the target platform before arranging the visual elements.
Placing text beneath platform controls
Reels, TikTok and Shorts place buttons, account information and descriptions over parts of the video. Keep essential captions and titles away from the outer edges and lower interface areas.
Showing too much text
Do not paste the full transcript onto the screen at once. Break speech into short synchronized groups that can be understood quickly.
Adding unrelated B-roll
Random stock footage can make the video feel less trustworthy. Use visuals that explain, demonstrate or support the words.
Ignoring copyright
Converting audio into video does not create publishing rights. Use audio, music, images and footage that you own, license or have permission to use.
YouTube also warns in its three-minute Shorts guidance that a Short longer than one minute with an active Content ID claim can be blocked globally. Check the rights attached to every music track before publication.
Audio-to-video publishing checklist
- The audio is owned, licensed or authorized for publication.
- The cleanest available source file is being used.
- The clip begins with a strong and understandable sentence.
- The headline explains why the audio matters.
- The chosen visual style fits the purpose of the content.
- The aspect ratio matches the publishing destination.
- The background and artwork are high resolution.
- Captions are accurate and timed naturally.
- Names, numbers and technical terms have been verified.
- Captions do not cover faces or important visuals.
- Text remains clear of platform interface controls.
- B-roll supports the narration instead of distracting from it.
- The complete exported file has been watched with sound on and off.
- The title, description and call to action are ready for the target platform.
The bottom line
Turning an audio file into a video can be a simple technical conversion or a complete content repurposing workflow.
A static image is enough when the audience mainly wants to listen. An animated audiogram makes the audio easier to recognize in a feed. Captions make the spoken message accessible and understandable without immediate sound. B-roll can turn narration into a fuller visual story.
Reap brings those options into one workflow. Upload MP3, M4A or WAV, choose a template, add branding, select the language and script, choose portrait, landscape or square, generate the audiogram and refine captions and visuals before export.
The best result is not the video with the most movement. It is the video that makes the audio easier to understand, more useful to watch and ready for the platform where it will be published.