To automate video clipping, you connect a long-form video source to an AI clipping engine that finds the highlights, reframes them to 9:16, adds captions, and publishes them, all triggered automatically through an API, an MCP server, or a no-code tool like n8n, Zapier, or Make. The cleanest setups use one platform that handles clip-to-publish natively instead of stitching three or four tools together.
This guide walks through every way to do it (no-code, low-code, API, and agent-driven) and shows you which approach fits a solo creator, an agency, or a developer building it into a product.
New to the category? Start with our State of AI Video Clipping 2026 report for the industry context, or the 10 best AI video editing tools roundup for a tool-by-tool comparison. This page is the hands-on automation playbook.
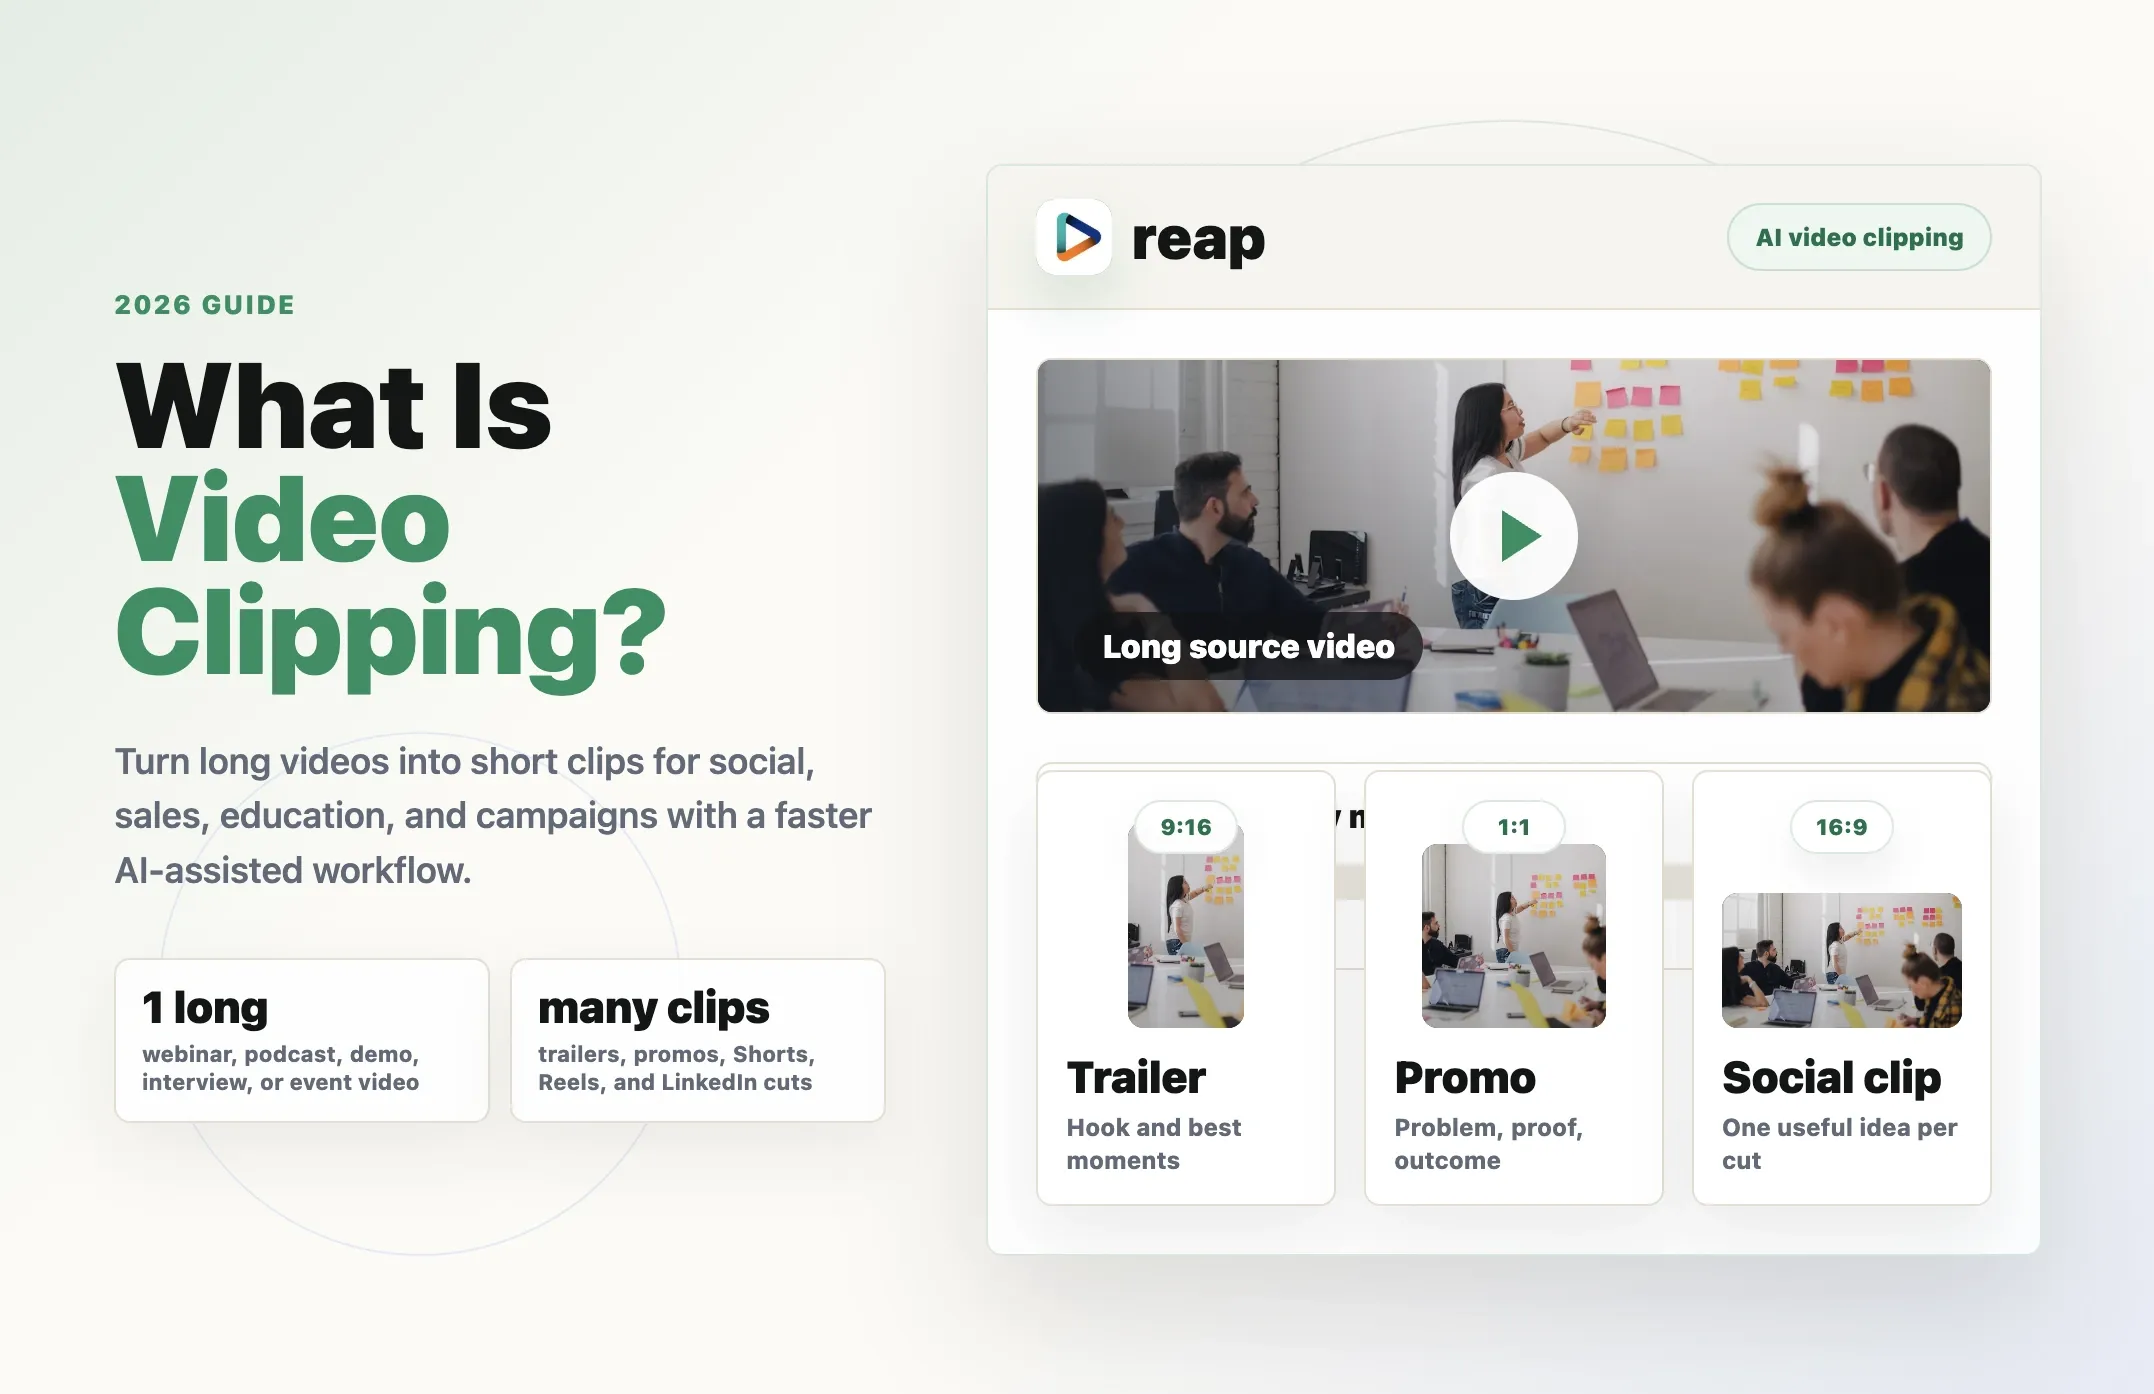
What does it mean to automate video clipping?
Automating video clipping means removing the human from the repetitive middle of the workflow. Instead of manually uploading a podcast, scrubbing for good moments, cutting clips, reframing to vertical, captioning, and posting each one by hand, you define the process once and let software run it on every new video.
A fully automated clipping pipeline does four things without you:
- Detects the best moments in a long video using transcription and AI scoring.
- Cuts and reframes those moments into 9:16 (or 1:1 / 16:9) clips that track the speaker.
- Captions, brands, and localizes each clip: subtitles, templates, translation, and dubbing.
- Publishes or schedules the finished clips to TikTok, Reels, Shorts, LinkedIn, and X.
The trigger can be anything: a new file in a folder, a finished livestream, a row added to a sheet, a webhook from your recording tool, or a single API call. Everything after the trigger runs unattended.
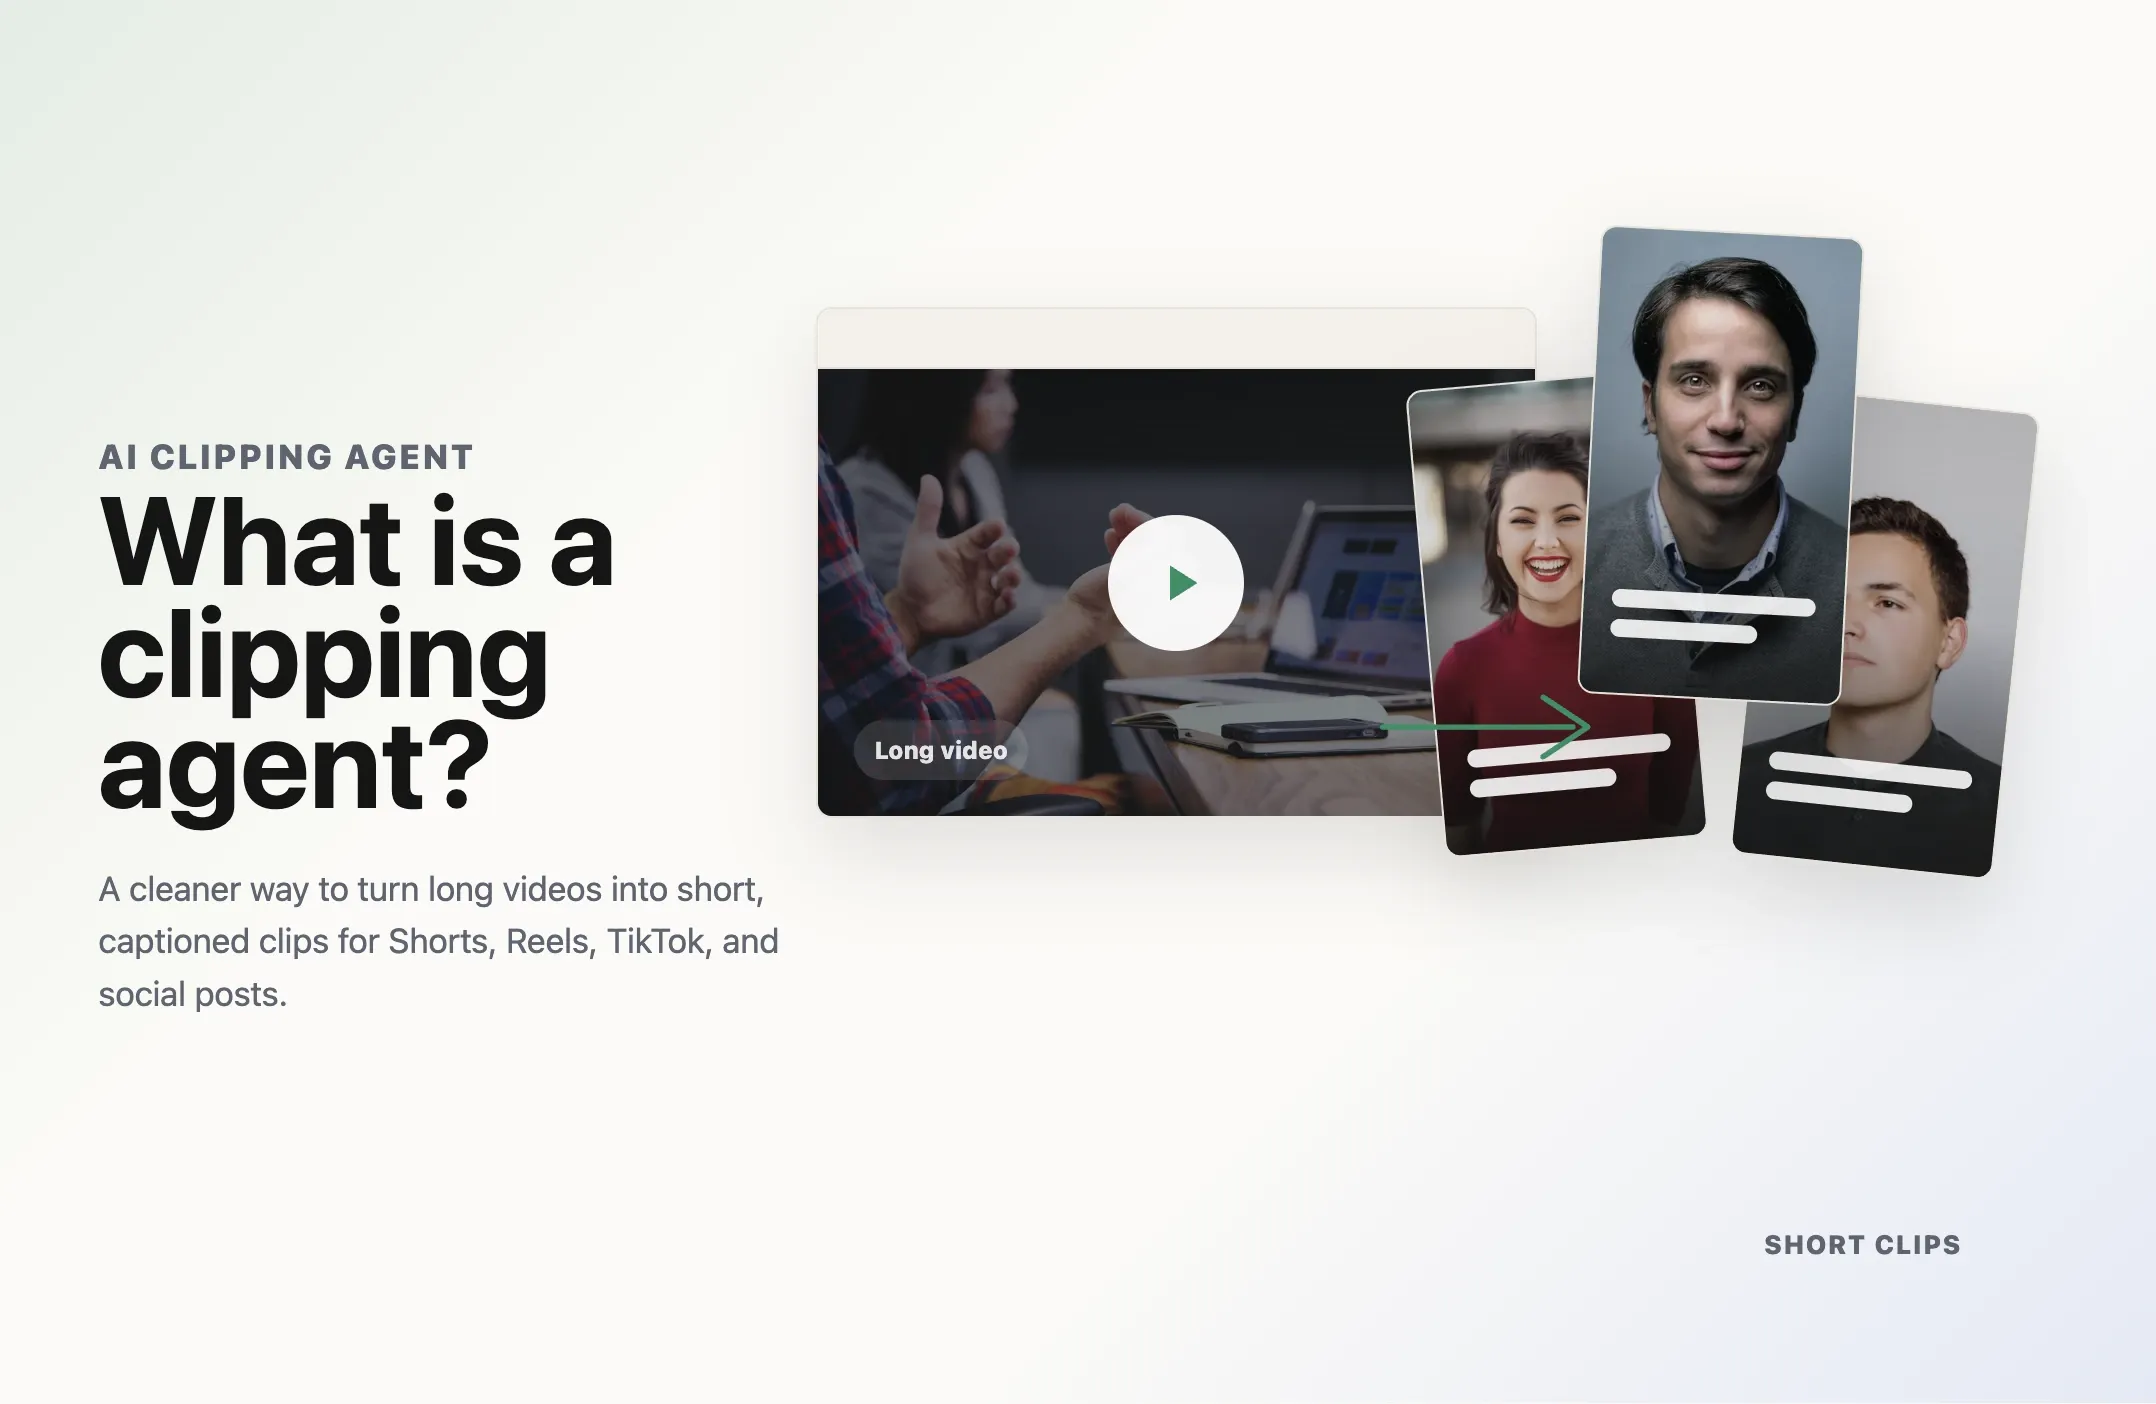
This is different from an AI clipping agent, which adds a decision-making layer on top, choosing which clips to make and how to frame them based on goals you set. Automation is the plumbing; the agent is the judgment. The best 2026 setups combine both.
Why automate video clipping in 2026?
The math is simple. One 60-minute podcast can yield 10 to 20 short clips. A creator publishing weekly is looking at 500 to 1,000 clips a year. Doing that by hand is a part-time job; automating it turns it into a background process.
For creators, automation is the difference between posting daily and posting "when you get around to it." Consistency, not virality, is what compounds on short-form platforms.
For agencies, automation is the entire margin. When you charge per client but edit by hand, every new client adds labor. When clipping runs through a workflow, a new client is a new trigger, not a new hire. This is why throughput, how many clips and posts you can push per day, has quietly become the most important number in the category. We break down the per-tool scheduler caps in the throughput section of the State report.
For developers and product teams, automated clipping is a feature. If you're building a creator tool, a course platform, or an internal content engine, you don't want a human in the loop; you want an API call that returns finished clips.
The catch: most "automation" advice tells you to wire together a transcription tool, a clipping tool, a captioning tool, and a scheduler with glue code. That works, but it's fragile and expensive. The rest of this guide shows both the stitched approach and the native one.
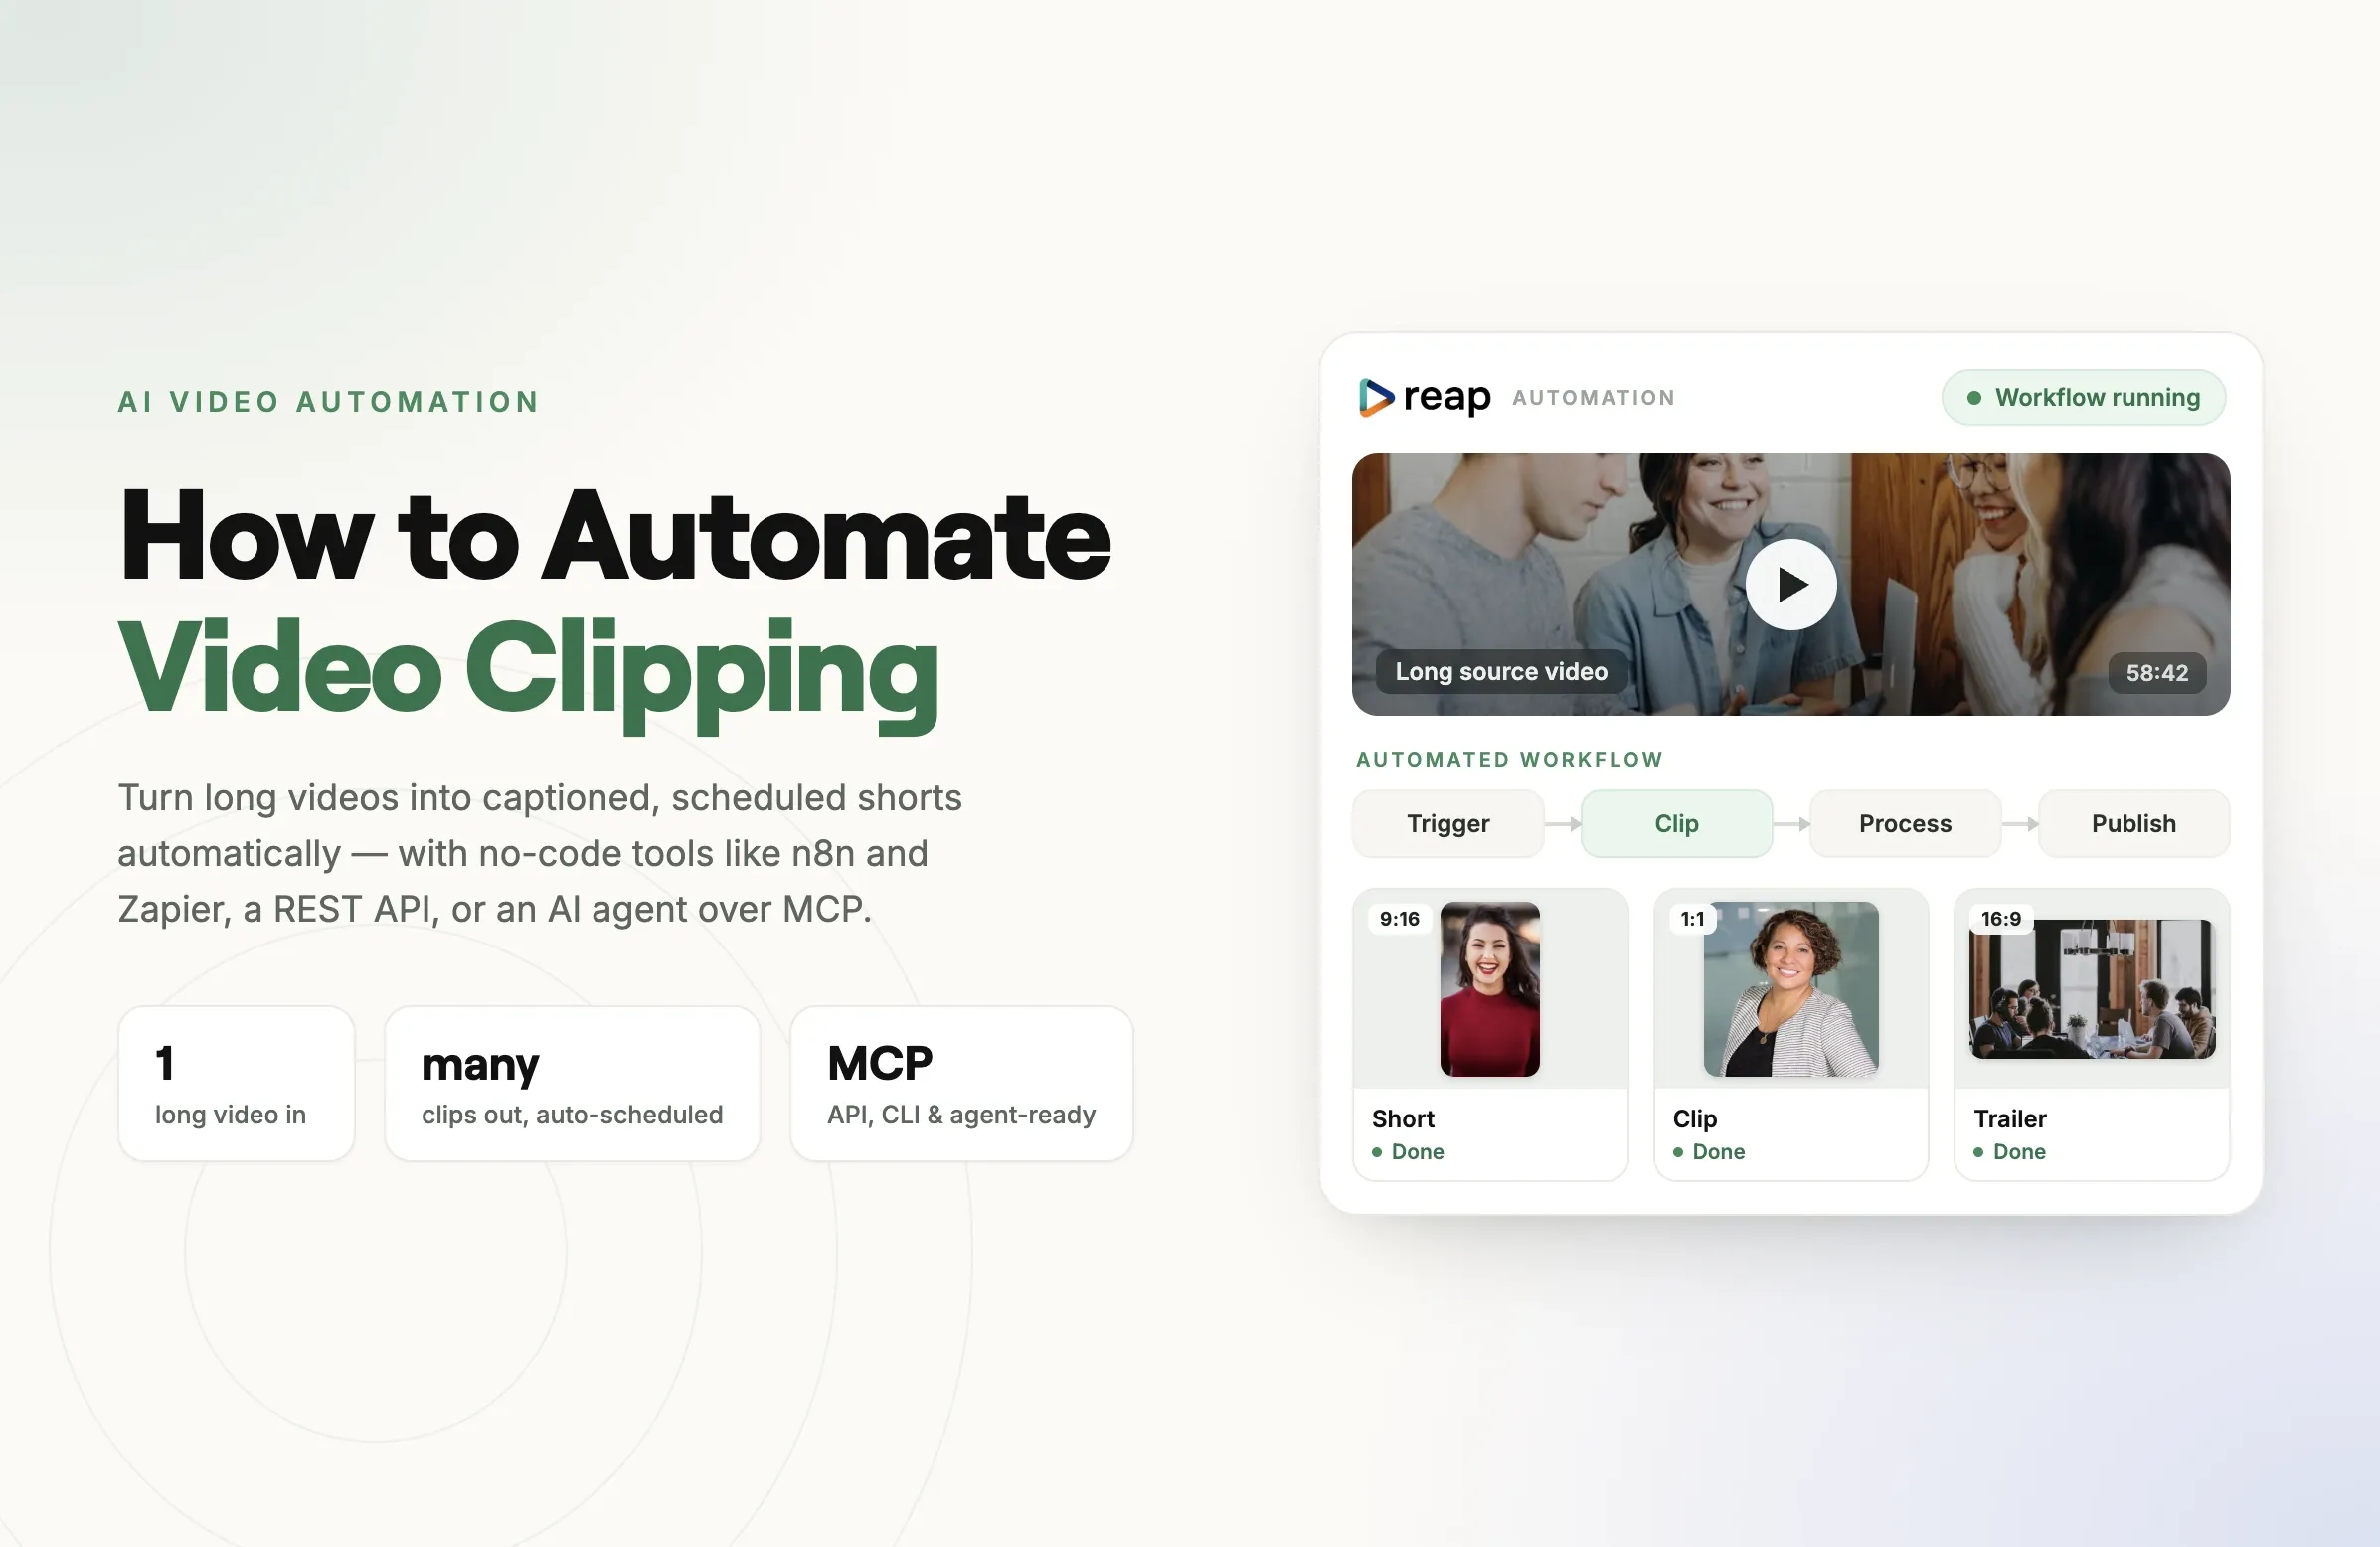
The 4 building blocks of an automated clipping workflow
Every automated clipping pipeline, no matter the tool, follows the same four-stage shape:
| Stage | What happens | What you need |
|---|---|---|
| Trigger | A new video appears or an event fires | Webhook, folder watch, schedule, or manual API call |
| Clip | AI finds highlights and cuts them | Transcription, highlight detection, and reframing |
| Process | Clips get captioned, branded, localized | Captions, templates, translation, and dubbing |
| Publish | Clips post or schedule to platforms | Native platform integrations and a scheduler |
The question that decides your whole architecture is: how many tools cover those four stages?
- Stitched: a different product for each stage (for example, Whisper, then a clipper, then a caption tool, then Buffer), connected by n8n or Make.
- Native: one platform that owns all four stages and exposes them through one API and automation surface.
Stitched gives you flexibility. Native gives you fewer failure points, one bill, and consistent credits across every surface. We'll cost both out in the hidden-costs section.
How to automate video clipping with n8n
n8n is the most popular self-hostable automation tool for this job because it mixes no-code nodes with real code when you need it. Here's the canonical workflow.
What you'll build: every time a new recording lands, n8n sends it to a clipping engine, waits for the clips, then schedules them to your social accounts.
- Add a trigger node. Use a Watch Folder (Dropbox or Google Drive), an RSS/Webhook node for a new YouTube upload, or a Schedule node to poll for new recordings.
- Send the video to your clipping engine. Add an HTTP Request node that POSTs the video URL to your clipping API. If you're using a native platform like Reap, this single call covers clip, caption, and reframe; if you're stitching, this is where you'd first call a transcription service.
- Handle the async job. Clipping isn't instant. Either use a Wait node that polls a status endpoint, or expose an n8n Webhook node as the
callback_urlso the engine notifies you when clips are ready. - Loop over the returned clips. Add a Split In Batches (or Loop) node to process each clip object: its URL, caption text, and suggested title.
- Publish or schedule. Send each clip to a scheduler node (or back to the platform's own scheduling endpoint) with your target accounts and post times.
- Log the run. Append a row to Google Sheets or Notion so you have a record of every clip, caption, and post URL.
The fragile part of the n8n approach is steps 2 and 3 when stitched: you're managing transcription, scoring, reframing, and captioning as separate API calls with separate retry logic. Collapsing steps 2 and 3 into a single native clipping call is the biggest reliability win you can make. See the Reap API docs for the single-call pattern.
How to automate video clipping with Zapier or Make
If you don't want to host anything, Zapier and Make (formerly Integromat) give you the same pipeline with a fully visual builder.
The Zap or Scenario looks like this:
- Trigger: New File in Folder, New YouTube Video, or Webhook Received.
- Action, create clips: call your clipping platform's "create clips" action (or a Webhooks by Zapier POST to its API).
- Action, wait or route: Make handles async jobs more gracefully than Zapier thanks to its router and sleep modules; in Zapier, use a Delay plus a polling step, or a second Zap triggered by the platform's "clips ready" webhook.
- Action, publish: push each clip to a scheduler (Buffer, Publer) or the platform's native scheduler.
Rule of thumb: Zapier is best when your pipeline is short and your team already lives in it. Make is best when you need branching, loops, and error handling without self-hosting. n8n is best when you want self-hosting, lower per-operation cost at volume, and the freedom to drop into code. All three are limited by how much of the clip-to-publish flow your underlying clipping tool exposes, which is the real bottleneck, not the automation layer.
How to automate video clipping with an API
For developers, the cleanest automation isn't a no-code tool at all; it's a direct API integration. A modern clipping API should let you:
- POST a source (file upload or URL) and get back a job ID.
- Receive a webhook when clips are ready, with each clip's URL, transcript, captions, and metadata.
- Request specific outputs: aspect ratio, caption style, language for translation or dubbing, clip count, and minimum or maximum duration.
- Schedule or publish finished clips through the same API, so you never leave the platform.
The differentiator in 2026 is plan parity. On most tools, the API is a separate, more expensive product gated behind a Business tier or metered per minute on top of your subscription. On Reap, the same credits on a $9.99/mo Creator plan are spendable from the UI, CLI, and API interchangeably, so prototyping in the dashboard and shipping to production use the same budget. We documented which tools gate their API in the agent-first analysis of the State report.
A minimal integration is genuinely a few calls: upload, then poll or webhook, then publish. Full reference lives in the Reap API docs, and the Reap CLI wraps the same endpoints for scripting and CI.
How to automate video clipping with AI agents (MCP)
The newest and fastest-growing approach is to let an AI agent run the clipping for you. With the Model Context Protocol (MCP), tools like Claude and ChatGPT can call a clipping platform directly, with no glue code and no Zap, just a natural-language instruction.
With the Reap MCP server connected, you can tell an agent:
"Take my latest podcast, cut the 8 strongest clips, caption them in English and Hinglish, and schedule two a day for the next week."
The agent then executes every step by calling the clipping tools as functions. This is the "agent-first" layer of the category, and in 2026 it's still rare; most tools have no MCP server at all. Reap is the major clipping platform shipping a native MCP server, a public REST API, and a CLI from the same entry-tier plan. For a walkthrough, see how to use Reap MCP.
Why this matters for automation: an agent can handle the judgment an n8n flow can't, such as "skip the intro," "only clip moments where the guest tells a story," or "match the caption style to the last viral post." It's automation plus decision-making, which is exactly the clipping agent model.
Stitched workflow vs native automation: the hidden costs
This is the decision that actually determines your monthly bill and your error rate. Here's the honest comparison.
| Stitched n8n + separate tools | Recommended Native one platform's API / MCP | |
|---|---|---|
| Tools to manage | 3 to 5 (transcribe, clip, caption, schedule) | 1 |
| Failure points | One per tool plus one per connection | One |
| Billing | Separate subscription plus per-op API fees each | One plan, one credit pool |
| Language/dubbing | Whatever the weakest tool supports | Up to 100 caption languages, 80 dubbing languages (Reap) |
| Throughput ceiling | The lowest scheduler cap in the chain | Platform's native scheduler (for example, 100 posts/day/studio) |
| Setup time | Hours to days of wiring | Minutes (one API or MCP connection) |
| Best for | Bespoke needs, existing tool investments | Reliability, scale, and lower total cost |
The stitched approach is the right call when you have a genuinely unusual requirement or heavy existing investment in specific tools. For almost everyone else, native automation wins on reliability and total cost of ownership, since you're not paying four subscriptions and debugging four integrations to do one job. For the full per-tool pricing and throughput numbers, see the 10 best AI video editing tools roundup.
Best tools to automate video clipping in 2026
Not every clipping tool is built for automation. Here's how the main options stack up specifically on automatability: API access, agent support, and end-to-end coverage.
| Tool | API | MCP / agent | Native scheduler | Clip→publish in one platform | Entry price |
|---|---|---|---|---|---|
| Reap Top pick |
Public REST, plan-parity | Native MCP + CLI | 100 posts/day/studio | Full | $9.99/mo |
| OpusClip | Business-tier closed beta | Yes | ~15/day cap | Partial | $15/mo |
| Vizard | Rate-limited separately | No | Yes | Partial | $20/mo |
| Submagic | Per-minute billed | No | Limited | Captions-focused | $19/mo |
| Klap | Per-operation pricing | No | Partial | Partial | $23/mo |
| Descript | Limited | No | No | Editor-first | $16/mo |
The pattern is clear: most tools can be partly automated, but reap is built agent-first with API, MCP, and CLI on the entry plan. If automation is the goal and not an afterthought, start with the platform that treats it as a first-class surface. You can try Reap free at app.reap.video, check Reap pricing, or read the full 10 best AI video editing tools roundup for the pricing detail behind this table.
How to choose your automation approach
Pick based on who you are and what you already run:
- Solo creator, no code: Use the platform's built-in scheduler first. You may not need n8n or Zapier at all. Add Make only if you need a custom trigger.
- Creator with a small stack: Zapier or Make to connect your recording tool to a native clipping platform. Keep the chain short.
- Agency at scale: n8n (self-hosted) for cost control, pointed at a native clipping API with a high scheduler ceiling. Throughput is your moat, so optimize for posts per day.
- Developer or product team: Direct API, with the CLI in CI and MCP for agent-driven workflows. Prioritize plan parity so prototyping and production share one budget.
- AI-forward team: MCP plus an agent (Claude or ChatGPT) for judgment-heavy clipping where the rules change per video.
Common mistakes to avoid
- Automating before the output is good. Dial in clip quality and caption style manually on 2 to 3 videos first, then automate the proven recipe. Automation multiplies whatever you feed it, including mistakes.
- Ignoring async behavior. Clipping jobs take minutes, not milliseconds. Build for webhooks and polling from day one, or your Zaps will time out.
- Forgetting the scheduler ceiling. A pipeline that generates 50 clips a day is useless behind a scheduler capped at 15 posts a day. Check throughput limits before you scale.
- Stitching when you don't need to. Four tools means four bills and four things that break. Default to native; stitch only for genuinely custom needs.
- No logging. Always write each run to a sheet or database. When a clip posts wrong, you need the trail.
The bottom line
Automating video clipping in 2026 comes down to one architectural choice: stitch several tools together, or run the whole clip-to-publish flow through one platform that exposes it via API, CLI, and MCP. No-code tools like n8n, Zapier, and Make are how you orchestrate it, and an agent is how you add judgment, but the reliability and cost of the whole thing are decided by how much of the pipeline your clipping engine owns natively.
If you want automation as a first-class feature and not a bolt-on, start with a platform built for it. Try Reap free at app.reap.video, connect the API or MCP server, and turn one long video into a week of scheduled clips on autopilot.
For the full industry context, read the State of AI Video Clipping 2026 report. For tool-by-tool pricing, see the 10 best AI video editing tools roundup.